Several years back, as we slowly realized our daughter was going to have significant delays and medical issues, we wondered how on earth we could ever pursue our dream of farming when it felt like one of our children would have to be left out. It felt like an insurmountable task. As her parents, we didn’t want to create a life that all of our children could not be a part of so we gave up our dream of farming and we moved somewhere with sidewalks.
Eight years ago we were thrown into the deep end of the special needs parenting pond without warning. We had no idea what we were doing and we were running on fumes. It was the most challenging season of my life.
We are a close knit little family, and we move as a unit even when we are apart. One thing was clear, if one of our children could not thrive in the lifestyle we’d chosen, that was not going to be the lifestyle for us. So we moved into town. We had sidewalks and no steps to get into our home. Our driveway was paved. It was a special season where we were able to come up for air and get a handle on our new reality as special needs parents. We got a handle on our daughter’s health issues and finally got a diagnosis.
I remember the day we got her first adaptable stroller. It was bittersweet. There was the realization that my child was not learning to walk anytime soon, if ever. There was also new freedom for her to have a chair that supported her body properly and gave her better access to the world around her. We walked those sidewalks almost every single day and she loved it.
Over the years we started to figure out how to include our daughter in just about everything we did. She’s been canoeing with us. She loves riding in a jon boat down the inter coastal waterways of North Carolina. I’ve taken her to the beach several times now. We’ve gone on hikes through the woods on and off the beaten trail.
I realized that the only thing that was going to inhibit her abilities was a lack of creativity, imagination, and effort on our part as her parents. There was no reason to believe that she was any different from the rest of our little crew of nature loving, outside people. The way her whole body relaxes when she’s by the ocean inhaling that salty air, or when she’s under a canopy of hardwood trees staring up through the leaves is breathtaking.
In preparing for our farm we now know there will always be one extra step in finding the best way to make sure our daughter is included. This time it means making a big purchase for a special adaptable chair very soon. In the future as we grow into farming, there will be more equipment purchased, acquired through insurance, and built by my skilled and creative husband.
In this life gift of being her mother, among the many, many things that I’ve learned, a big one is that her abilities are only limited by my lack of imagination and gumption. My child who loves to be outside, who has a special connection with animals, who thrives on whole and healing food as close to the source as possible…of course she was always meant to be a part of this dream we held to farm. We just had to learn to be more adaptable.
Here is a short Gilbert family update as stated in the title, we are indeed living in a camper. My husband moved out here in January and the kids and I joined him in February. Our home here in North Carolina is just about ready to go on the market. The final destination is West Virginia where we will jump into farming. The “in-between” is a season of camper life while we save the necessary funds to make this leap.
A couple of things I’ve learned: I will not be touching the awning again for a long time, and camper ovens are really good at only baking the bottom of your food. So far, we’ve been navigating this small space living transition pretty well over the last two months.
Between having a baby in November, packing up our home to move, and downsizing to a camper, this past winter has been a bit of a blur. The dust is starting to settle, and I’m trying to figure out some sort of normalcy and routine for this new season.
I’m starting to get back into making nourishing meals for my family more regularly. I’m working on revamping this blog without worrying about what it’s “supposed” to look like and just writing and sharing. I’m still homeschooling, and I’m still a special needs momma. We are finding our new rhythm with this new living situation and our new little human.
When I think about our current situation and how we got here, I’m really thankful for the growing pains and growth that came from it over the last several years. While it sounds almost romantic and fun to do something like this, the logistics are not easy. Most evenings are pretty chaotic between dinner, clean up, our sweet 8 year old’s bedtime routine (which is very involved and time consuming), and a very clingy baby boy who is all about mom right now. My oldest described it best after a particularly challenging evening as “sensory overload.”
Still, if you come into it with the right mindset, it is really fun. This season is going to be challenging and fun. I can pull from all our experiences thus far to say that with confidence.
Challenging and fun things so far have been learning to use a dutch oven on a charcoal grill since the camper oven is best for storage. Learning to contain my inner chaos goblin because there is absolutely no room for clutter corners. Learning a completely different way of grocery shopping and meal planning since there is no room for keeping a stocked pantry and freezer.
So many families have started this journey into more simple living and opted for camper living as they build their own homestead or farm. I hope that by sharing our experience, we can learn from people that have already done this. This space will hopefully leave some sort of road map for people coming up behind us with our successes and mistakes all rolled in together.
It’s been another year of neglecting this little blog space and another year where I forgot to cancel the hosting service. Whoops! So I guess it’s as good a time as any to start writing. I’m not quite sure what I wanted from creating this little space. It can be overwhelming trying to find your “niche” in the blogging world. I realized I don’t really have ONE. I’m a wife, a mother, a special needs parent. I dream of raising my babies on a farm (more on that another time) and cultivating a deep rooted family culture of faith and home. These are the things I like sharing. These are the things that underline my days. To encompass what I want from this little writing space, I think the main theme is home.
I’m writing this with a huge cup of coffee, surrounded by packed boxes while my children sleep surprisingly late this morning. We are in yet another season of transition as a family preparing for a big move buffered by a season where our family of 5 (yes, FIVE) will be living in a camper for a time. While this probably would have been a disaster 10 years ago, I feel pretty confident we are up with the adventure now.
“Home is where your stuff is.” I’ve said this for years. We moved quite a bit growing up and my husband and I have lived in 3 different states in our 12 years of marriage. Just a mindset of surrender to all the twists and turns life has taken over the years. However, I’ve been a homemaker most of my adult life now. As my grandma pointed out to me several years ago, this is distinctly different from a housewife. I can’t help but smile as I remember my grandma indignantly saying, “I am not a housewife. I am not married to my house. I am a homemaker.” Quite frankly, given my grandma’s explanation, I’m not quite sure what a housewife even is.
I’ve thought about that a lot over the years as I’ve grown into this role in my own family. What was it about my grandparents’ home that made what my grandma said to me a core memory? The best way I can describe it is when you walked into their house, regardless of where they lived, you could drop your shoulders. It reverberated throughout their entire place. You were welcome, you were loved, you were safe.
A home is something you intentionally cultivate. It is a practice in being a better spouse, parent, and friend. It is actively practicing hospitality (hello fellow introverts, why is this so hard?!). It’s a practice in learning to be vulnerable and giving people the benefit of the doubt.
It’s also a discipline in housework. It requires learning to be better organized and creating a rhythm that maintains order and cleanliness. I say all of this fully aware that these are not my strengths. If you could see my house right now, you’d be rolling your eyes even harder than you probably are right now. I am telling myself these things more than anyone else.
Home is basically a practice and discipline in everything that I’m bad at.
The main point is, I want first my family to feel that “drop your shoulders and inhale peace” air when they walk through these doors. Then I want that feeling for anyone else that comes into our sphere. I want that in our little camper we will be living in, and I want that in the home we will be building. I want to be a homemaker that makes people feel better after leaving the space I’ve cultivated. That they’ve had just a little break from the ups and downs of life, a little shelter from the storm. I want to cultivate a true home, and I want to write about it in a vulnerable way.
For your convenience, here is your recipe at the top of the page as promised to close friends of mine. NOW! Let’s get into the very basics of making some bread.
Something about a fresh loaf of bread baking in the oven and filling the house with the smell of comfort is just good for the soul! “But Kierstin, I can’t cook. I burn everything I touch. If it doesn’t come from a box or a can, I can’t make it.” I am here to tell you that this recipe is for the “I can’t people.” This is your confidence boost. This is the, you are capable loaf of bread! Because you are going to learn the basics in this recipe, and then you will be rewarded with fresh bread from your oven made with your hands.
Yeast
Making any kind of bread is simply creating a space for yeast to ferment and adding the rest of the ingredients. Yeast is a fungus that is found everywhere. It’s in the air, it’s on fruit, it’s even in your gut. Yeast likes a warm, moist environment and it wants to reproduce. That is how we get bread to rise. When it is cold, it goes dormant. The most important part to making a simple loaf of bread is making sure that your yeast has what it needs to start that process.
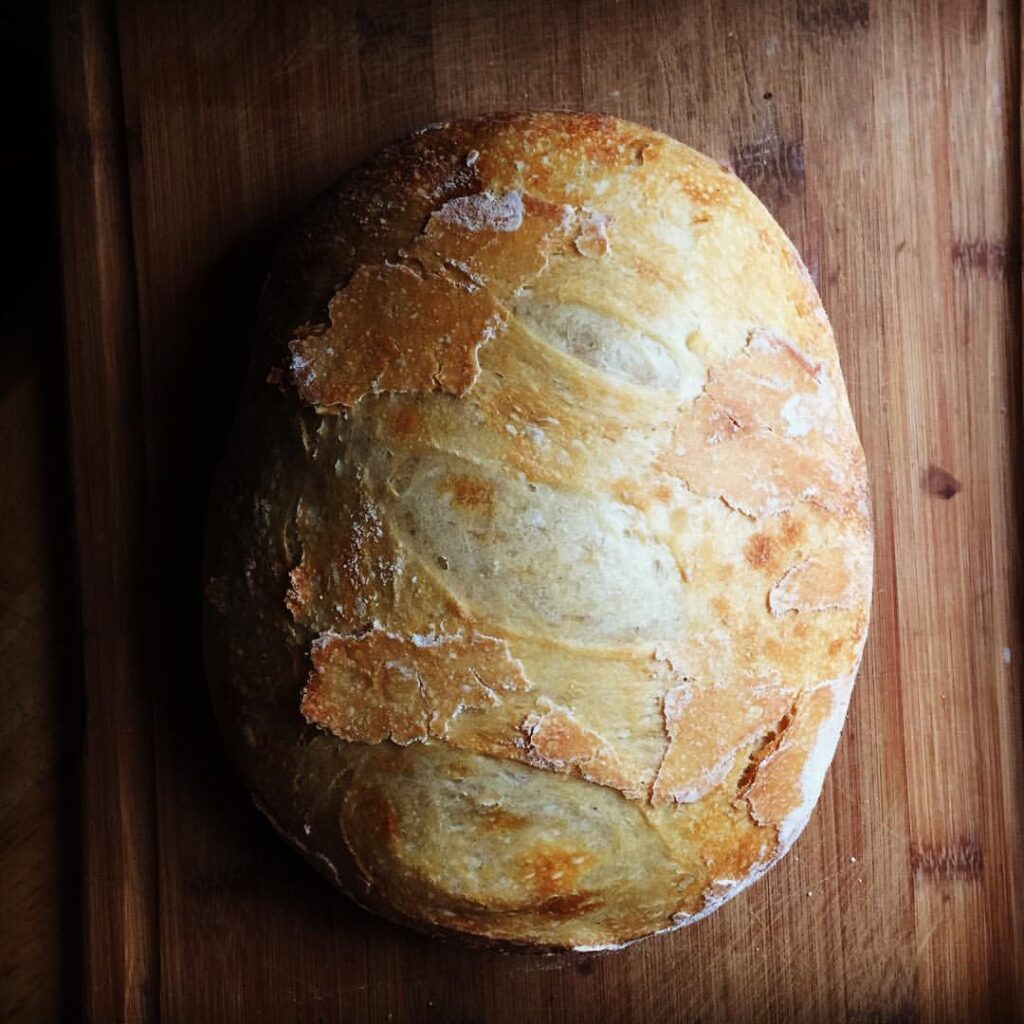
This is my very first successful loaf of sourdough bread many years ago. It was the result of many, MANY failed attempts.
There are all kinds of ways to harness and preserve yeast. Sourdough bread has become extremely popular again in the last few years and utilizes yeast in the air. For the sake of learning, we are going to use active dry yeast found at any grocery store. This is ideally stored in your refrigerator after opening it.
Step One: Bloom the Yeast
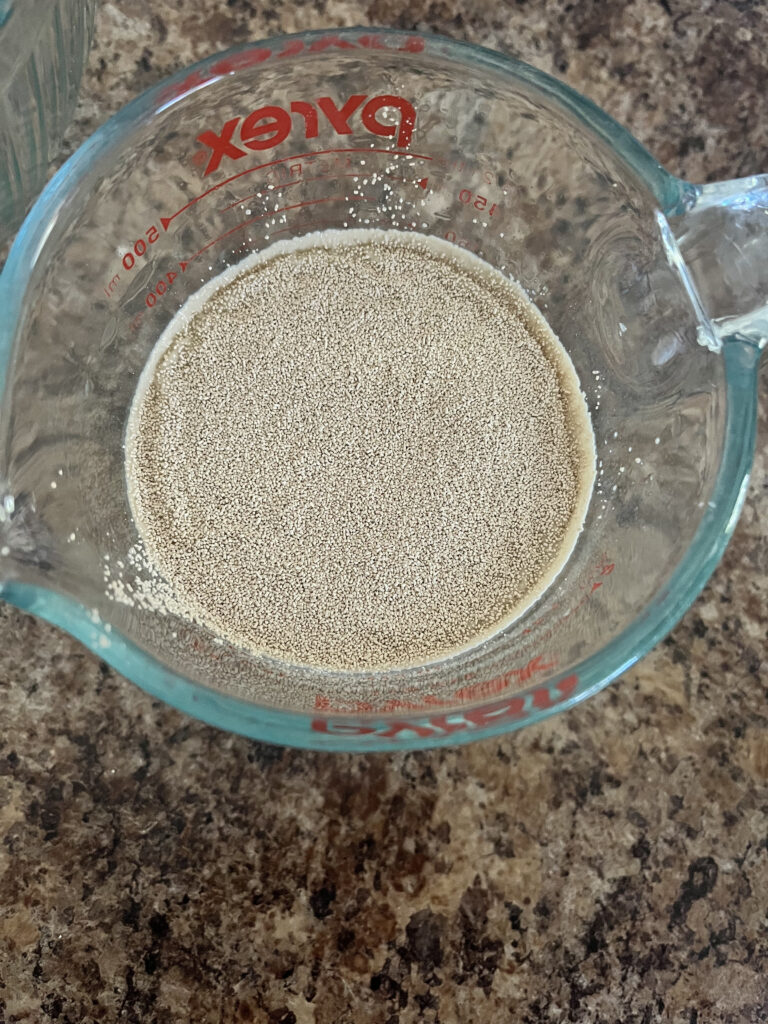
The very first thing you’ll want to do is bloom the yeast. Like I said before, yeast is a fungus, and it wants a warm, moist environment to reproduce in. To create the right environment, we are using warm water. Fill a liquid measuring cup with 1.5 cups of warm water. The ideal temperature is 110 degrees F. Comfortably warm will be fine if you don’t have a way to measure the temperature. Pour 2 tsp of active dry yeast on the warm water and let it sit. After 5 to 10 minutes, the yeast will start to bloom as pictured below.
Active Dry Yeast sitting on top of the warm waterNotice how the yeast granules have started to “bloom” or expand here. There are still some on top that haven’t bloomed yet, but that’s okay. This is good enough to pour into the flour.
Step Two: Prepare the Flour
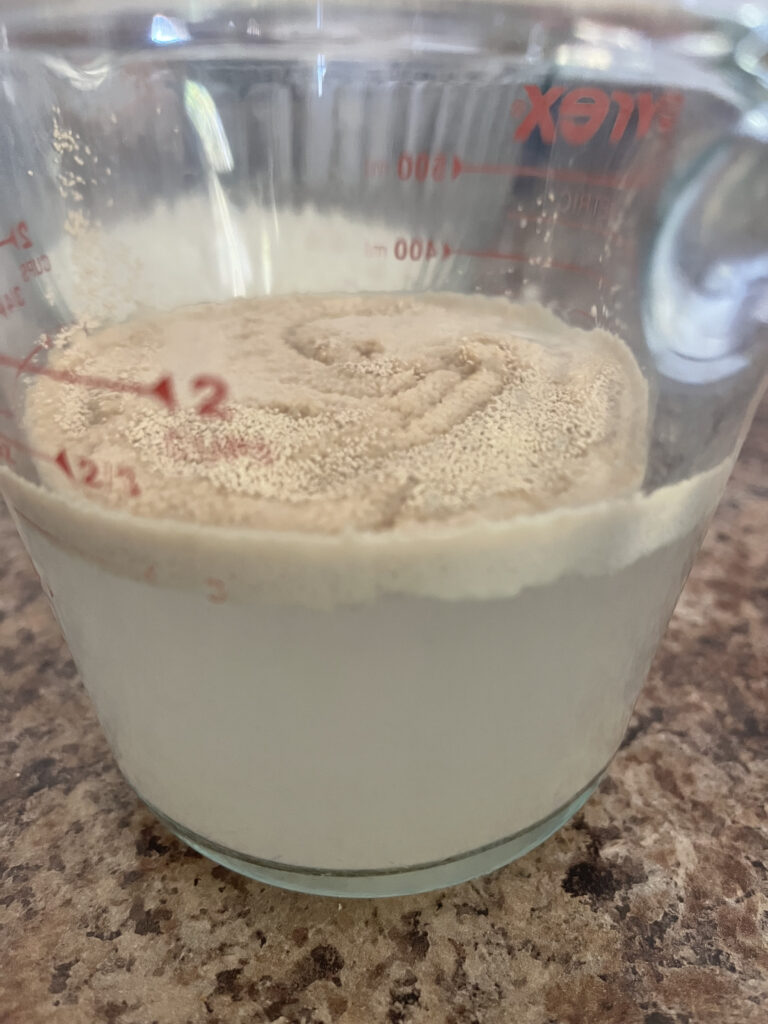
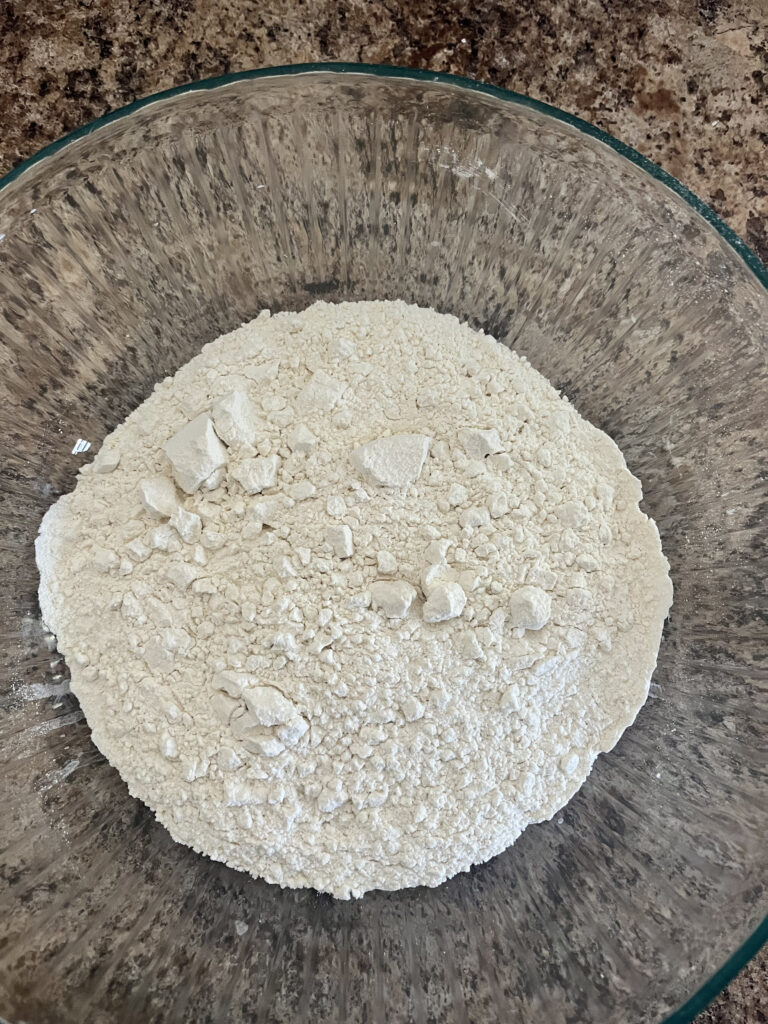
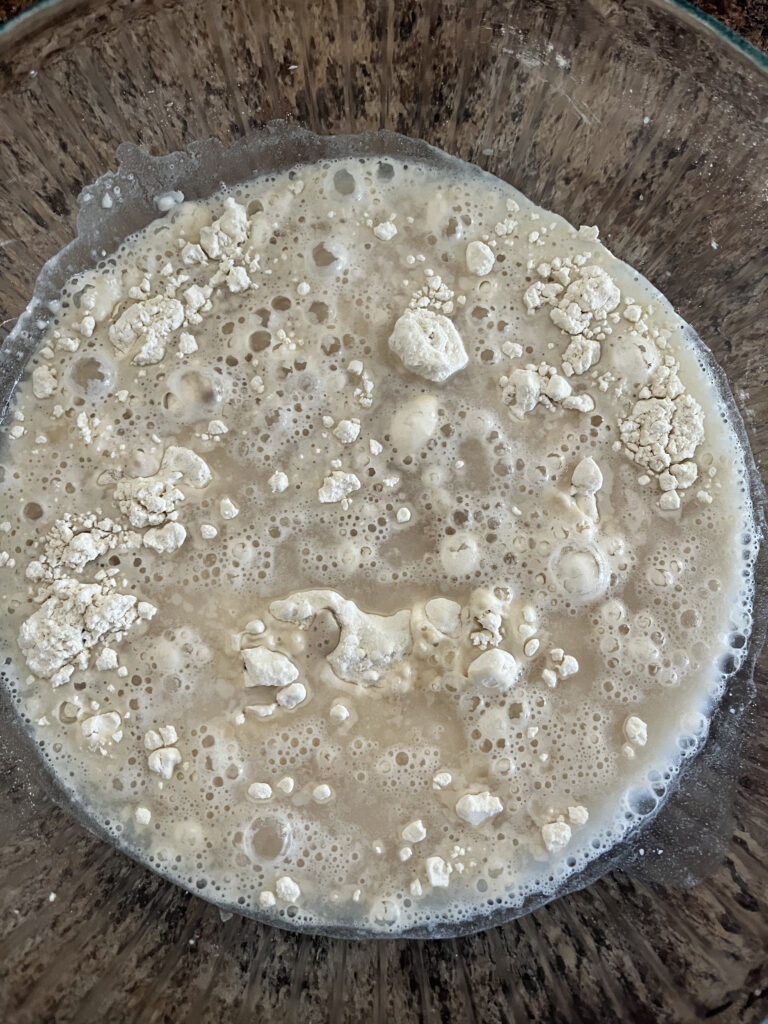
While you’re waiting for the yeast to bloom, go ahead and put 3 cups of flour and 1 tsp of salt in a large mixing bowl. Once the yeast has bloomed (as pictured above), pour it into your flour.
Nothing fancy. Just flour and saltIt’s ALIVE! Look at all the bubbles from the yeast!
Step Three: Mix
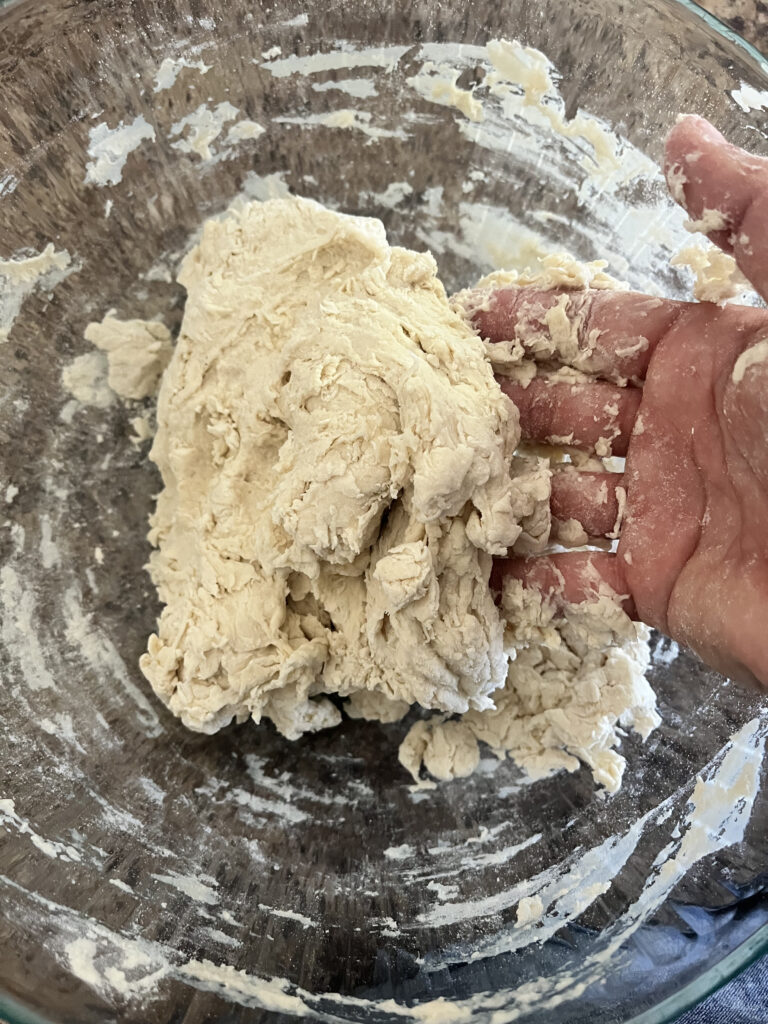
I don’t have a lot of extra kitchen appliances. If you have a standing mixer, this is the part where you put the bread attachments on that thing and let it mix and knead the dough until it’s ready. I don’t have one. I just use my hands. Use your hands to start working the flour, salt, and yeast water together so that the flour is completely saturated. It helps a little bit if your hands are wet, but the dough is going to be sticky no matter what at this point.
This is how you want your dough to look after mixing it with your hands. You may need to add a little extra flour to get it there. No big deal!
Step Four: Kneading the Dough
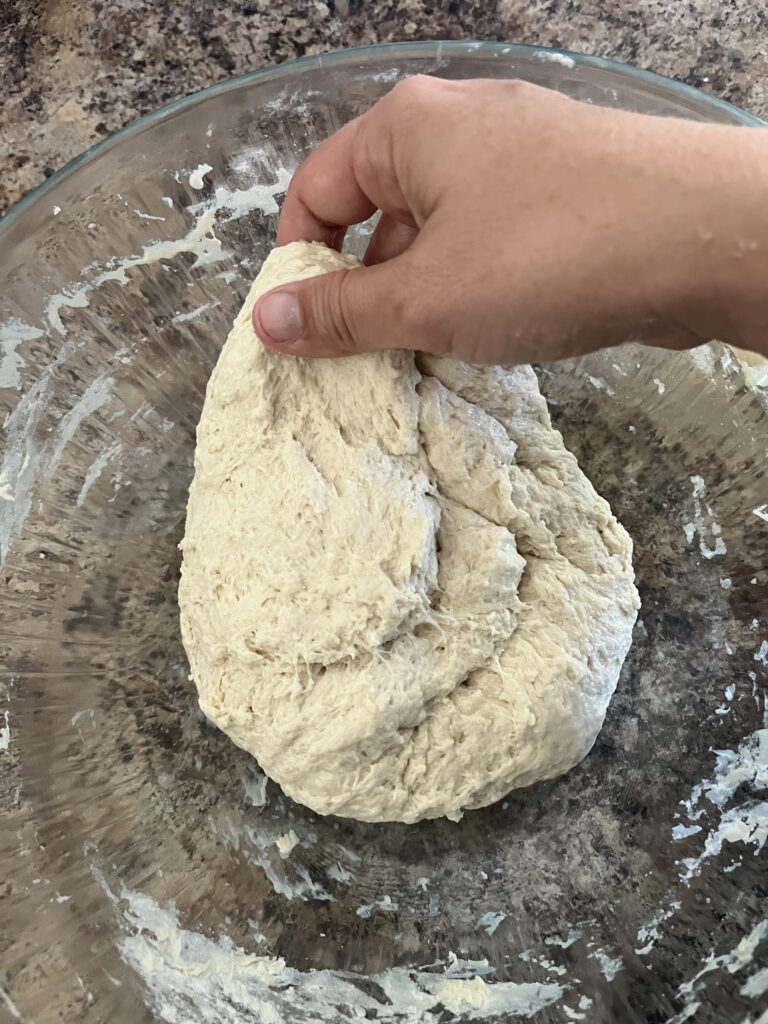
If the dough seems really wet, go ahead, and sprinkle a little more flour over the dough and working it by pulling the edges to the center and pushing them in. Sometimes I add a little bit of olive oil to my hands to help it not stick so much. Keep doing this until a nice ball has been formed, and it no longer sticks to your hands. It takes approximately 3 to 5 minutes so get comfortable.
Here I am just pulling up the edges then folding and pressing them into the middle. I’ll do this over and over for 3 to 5 minutes until my dough forms a respectable ballthis is minimally sticky. It sometimes helps to put some olive oil on your hands for this step.This is what we are going for.
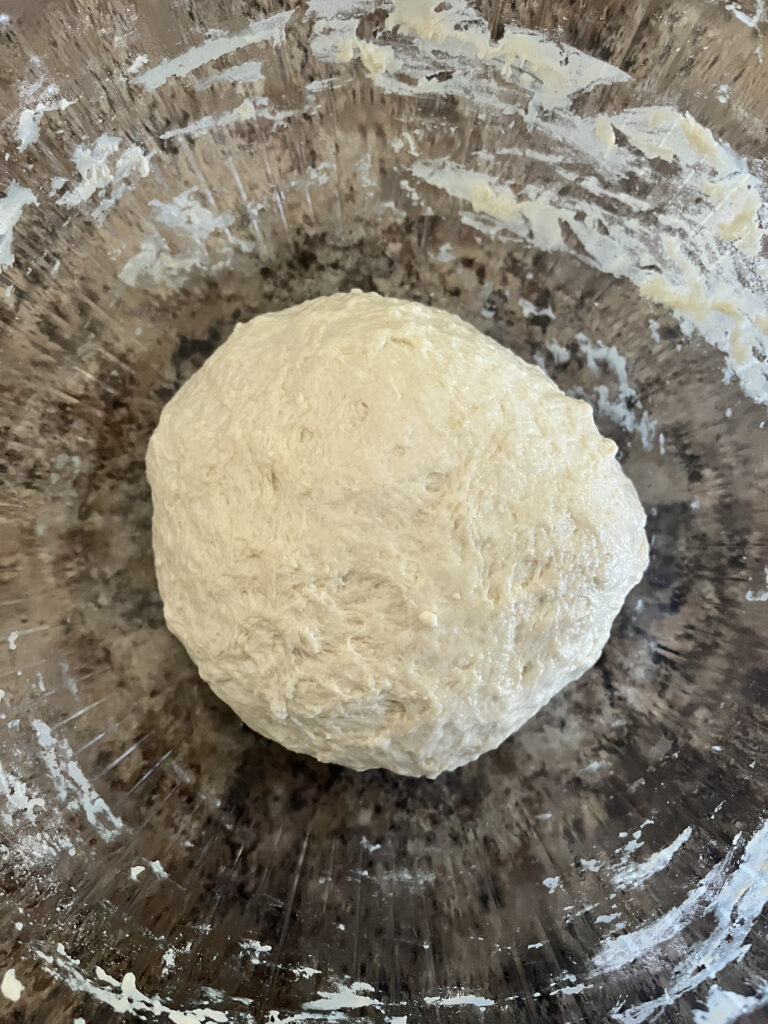
Step Five: Rise
Once a smooth ball of dough has formed, cover the bowl with a warm, wet tea towel and let it sit for an hour or so. You want the dough ball to double in size. The amount of time this will take is going to depend on the temperature and moisture in the air. Your yeast is reproducing which is creating the rise in the bread. The more conducive the environment is for that, that faster your bread will rise. The less conducive, the longer it will take.
Resting on the counter for the next 1 to 2 hours under a warm, wet tea towel.Tada! She’s about doubled in size here.
Step Six: Second Rise
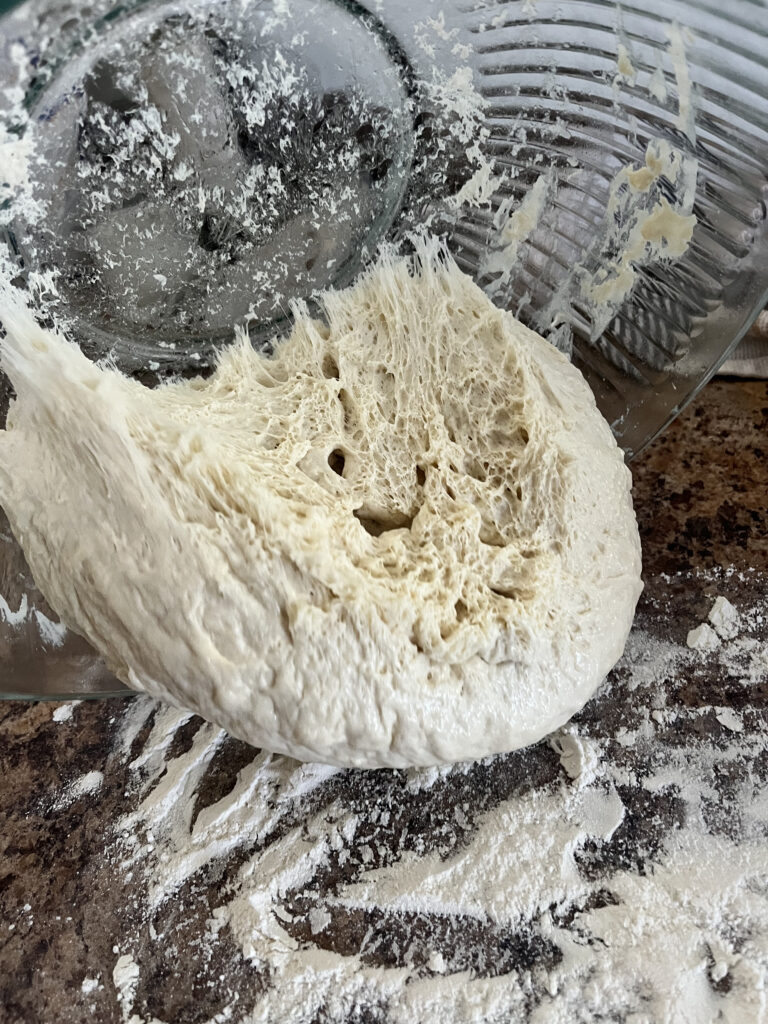
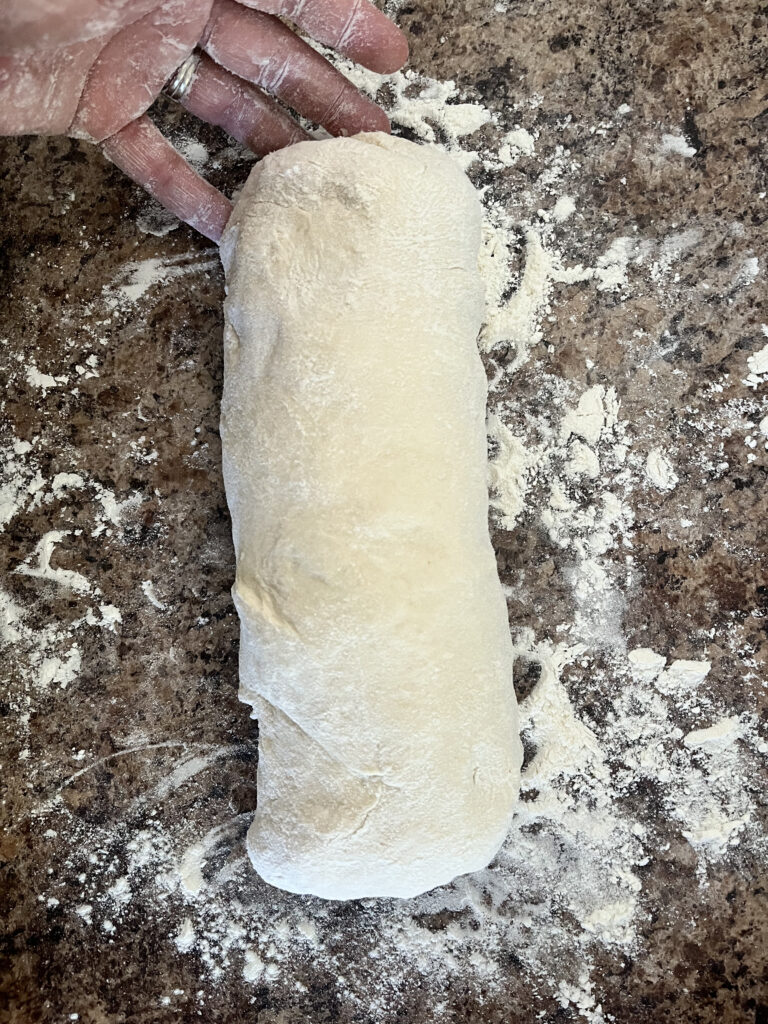
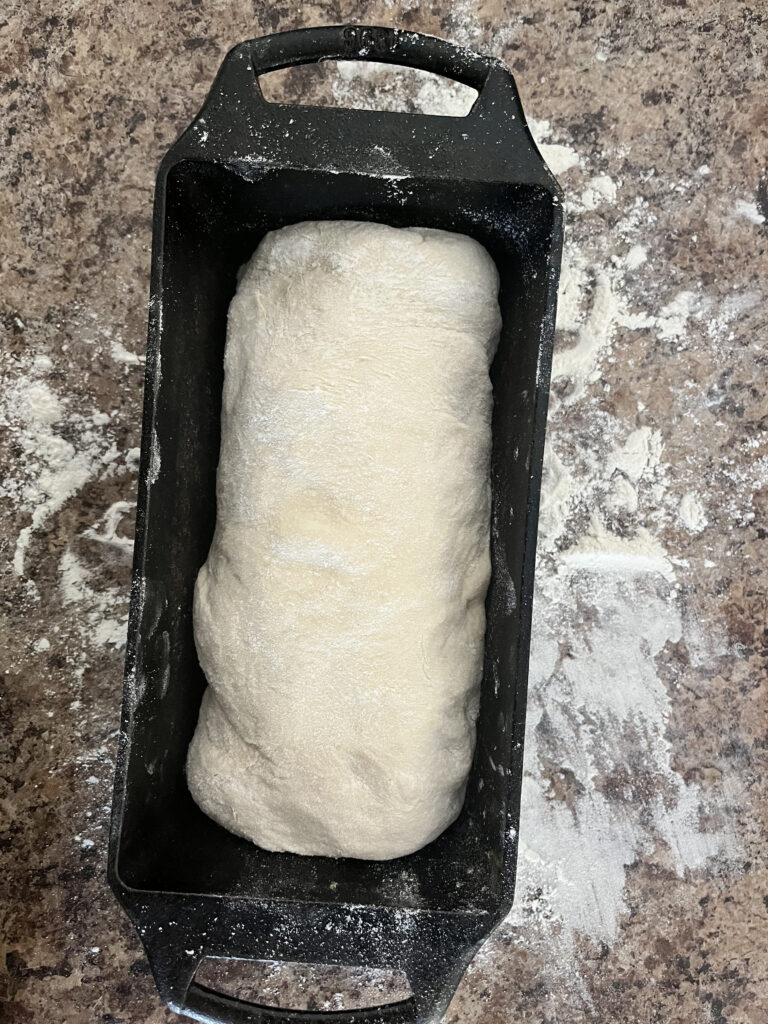
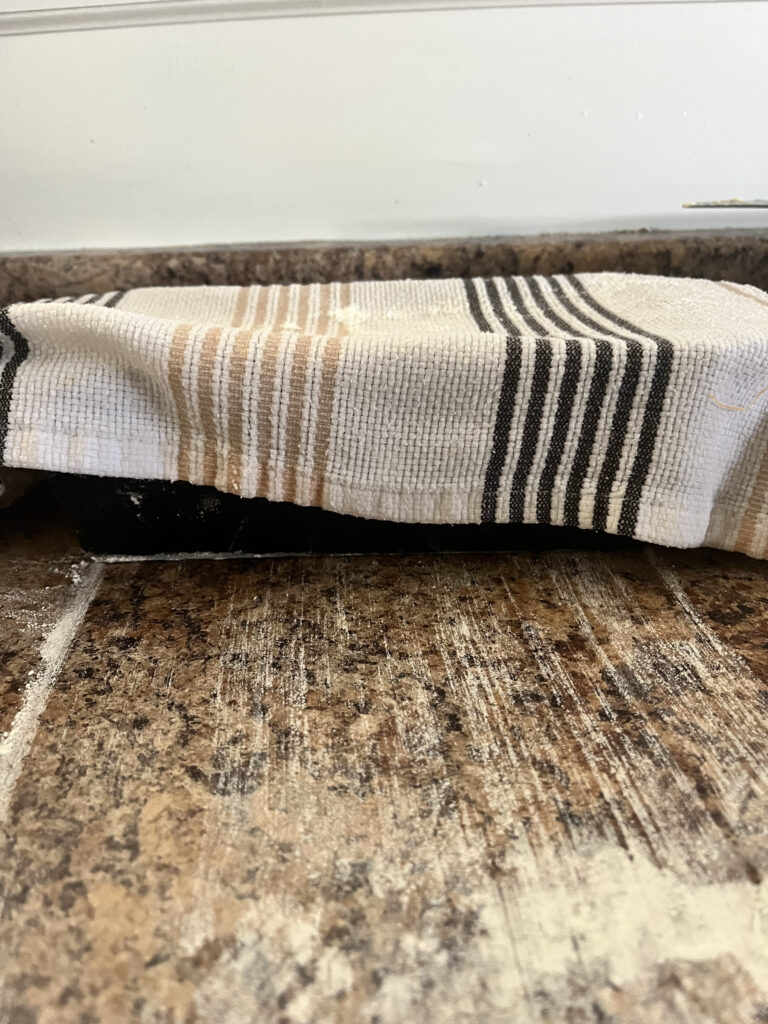
Once your dough has doubled in size, pour it out of the bowl on a floured surface. Form it again into a loaf shape and place it into your loaf pan. Cover it with a warm, wet tea towel and let it sit for a second rise. This rise should not take as long.
This is what we want to see when we dump our raised dough on the flour surface.I’ve simply folded and rolled the dough into a loaf the size of my loaf panInto the loaf pan she goesPut that wet, damp tea towel back up and let it sit. Depending on the temp and humidity of your house, this can go from 30 minutes to an hour. It is almost always shorter than the first rise.
Step Seven: Let’s Make the House Smell Amazing!
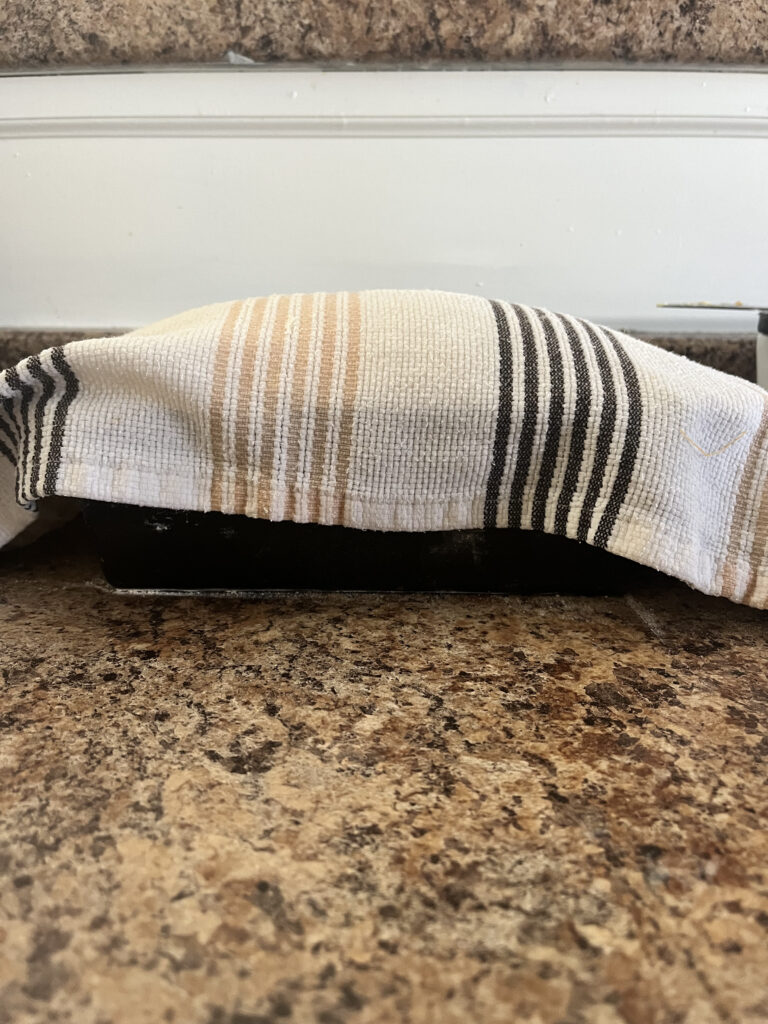
Once the loaf is well into its second rise, preheat your oven to 450F. Place your second bread pan upside down on top of the one holding the dough. Bake covered for 27 minutes. Remove bread pan cover and bake an additional 7 minutes or until the top of the loaf is a nice golden color. When you remove the bread from the oven, DO NOT SLICE IT! It is tempting. I know. Dump it out of the bread pan and onto a cutting board. Let it rest for 30 minutes. It is still baking inside the crust. Sometimes you can hear it popping and cracking while it does this.
When it looks like this, it’s time to preheat your oven
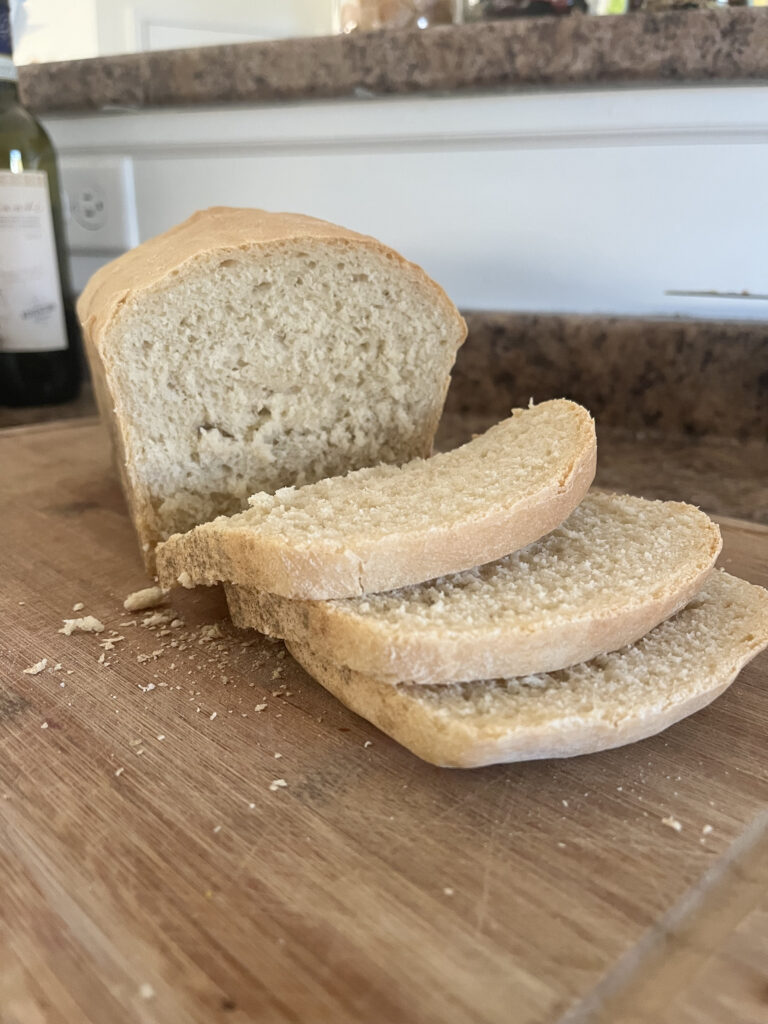
Step Eight: Enjoy!
This is a simple, honest bread recipe. It’s probably the one I use the most often due to its simplicity and versatility. We use it for toast with dippy eggs, butter bread with soups, open faced sandwiches, even regular sandwiches (although there are better sandwich bread recipes out there). Knowing how to make a simple loaf of bread can take you a long way in saving money at the grocery store and creating simple from scratch meals at home. It’s also a hit at any potluck. The best part is that it is shockingly simple to do. Furthermore, once you are confident in this, you can take on any bread recipe that interests you! Now get your hands in some dough!
Hi. My name is Kierstin and I’m a recovering slob. I burst into adulthood messy, unskilled, and tenacious. I married the love of my life ten years ago today and laugh at what that poor man must have been thinking in those early days.
My good, kind mountain man. The one who can survive in the woods, cook up an incredible meal with wild game and home grown produce. The hardest working man I know.
I’ve grown a lot in these last 10 years. I’ve discovered passions I never would have known had it not been for him. I too can whip up a delicious meal from wild game and home grown produce. I can take something that I grew with my own hands and make it shelf stable to enjoy all year long.
But I couldn’t always do that. In those early days of wedded bliss, I couldn’t even boil an egg properly. Forget baking.
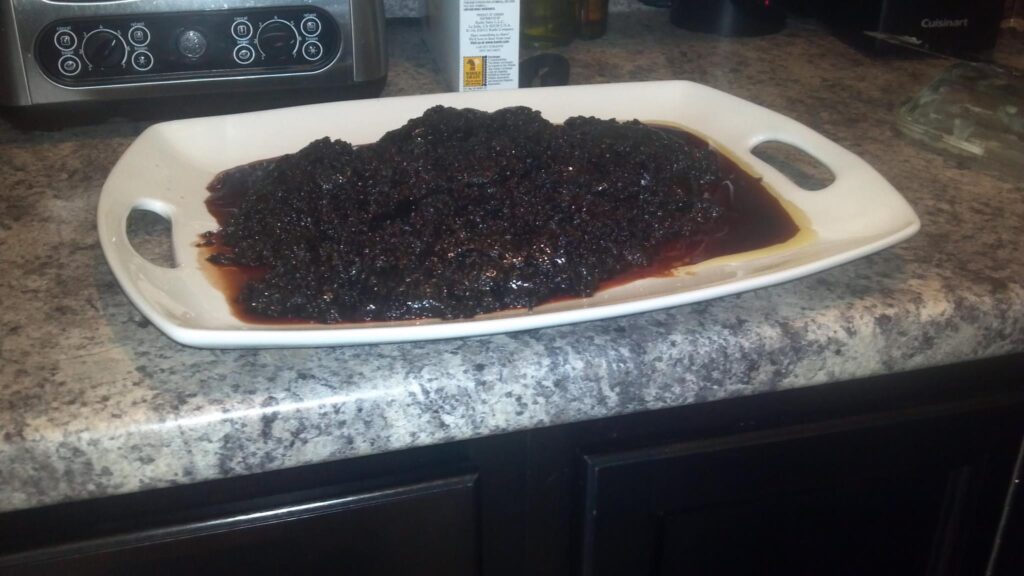
This is a cake I made once. It was burnt but also a smidge moist…I don’t know what to tell you.
My point is, I was less than adequate in the kitchen. If I couldn’t buy it pre-made from a grocery store, there was a solid chance I was going to make it wrong.
I remember one particularly tragic week where I found pork chops on sale. I’ll spare you the long list of failed meals I put together from that. I will just say that my husband was a trooper that week and we still remember it almost 10 years later.
Despite my lack of skills, I desperately wanted to know my way around the kitchen in a big way. I dreamed of making my own bread. I wanted to make good meals from scratch. I wanted it so bad. That earnest desire would expand to growing my own food. To being conscious of where our meat comes from and respecting the wild game that comes into my hands. It grew into a dream of sustainable farming. And it started with a desire to know how to cook.
My very first successful loaf of sourdoughbreadafter many, MANY failures.
I tell you all of this because I want you to know that anyone can learn these skills! You can learn your way around the kitchen. Whether you just want to have some good homemade meals from scratch in your arsenal, or you want to get your hands in the dirt and grow your food from seed to sitting in a mason jar in your pantry. This is a learning and sharing space.
As I reminisce on these last 10 years one thing is certain, if I can do it, anyone can. I cannot wait to invite you to our table and share what I’ve learned.