- 3 Cups of Flour
- 1.5 Cups of Water
- 2 tsp of Active Dry Yeast
- 1 tsp of Salt
- Two Bread Pans
For your convenience, here is your recipe at the top of the page as promised to close friends of mine. NOW! Let’s get into the very basics of making some bread.
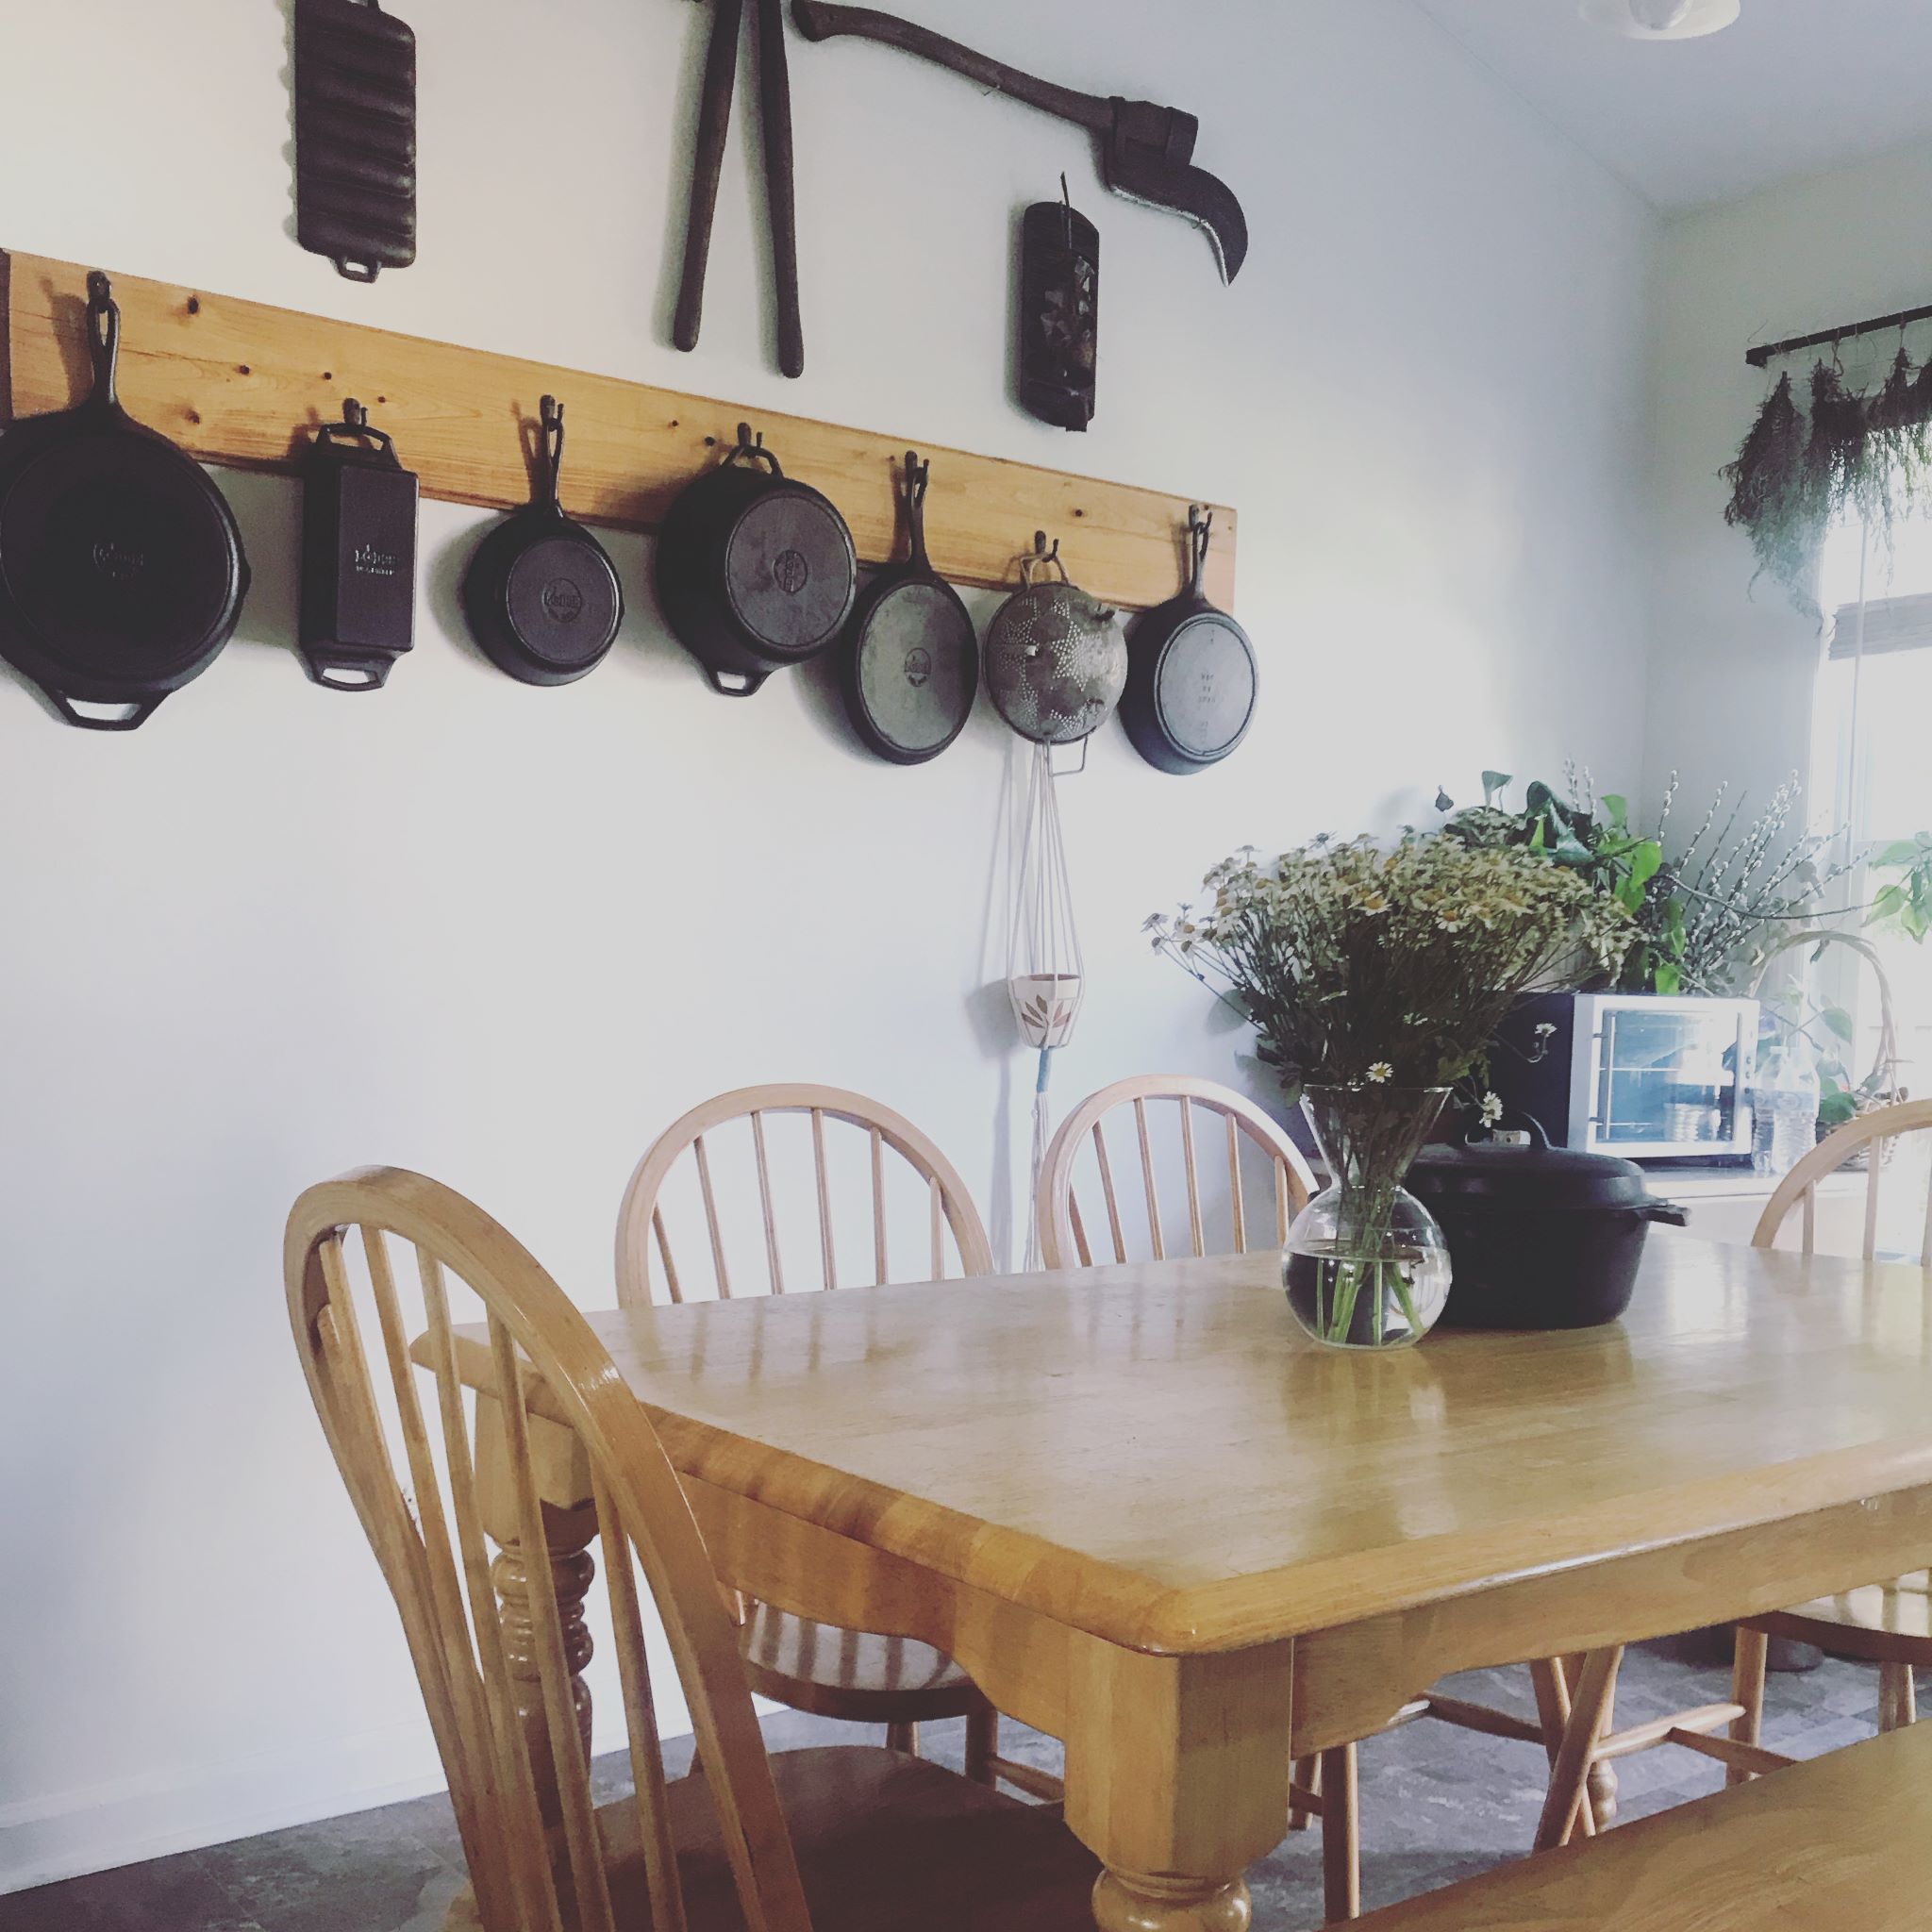
Something about a fresh loaf of bread baking in the oven and filling the house with the smell of comfort is just good for the soul! “But Kierstin, I can’t cook. I burn everything I touch. If it doesn’t come from a box or a can, I can’t make it.” I am here to tell you that this recipe is for the “I can’t people.” This is your confidence boost. This is the, you are capable loaf of bread! Because you are going to learn the basics in this recipe, and then you will be rewarded with fresh bread from your oven made with your hands.
Yeast
Making any kind of bread is simply creating a space for yeast to ferment and adding the rest of the ingredients. Yeast is a fungus that is found everywhere. It’s in the air, it’s on fruit, it’s even in your gut. Yeast likes a warm, moist environment and it wants to reproduce. That is how we get bread to rise. When it is cold, it goes dormant. The most important part to making a simple loaf of bread is making sure that your yeast has what it needs to start that process.
There are all kinds of ways to harness and preserve yeast. Sourdough bread has become extremely popular again in the last few years and utilizes yeast in the air. For the sake of learning, we are going to use active dry yeast found at any grocery store. This is ideally stored in your refrigerator after opening it.
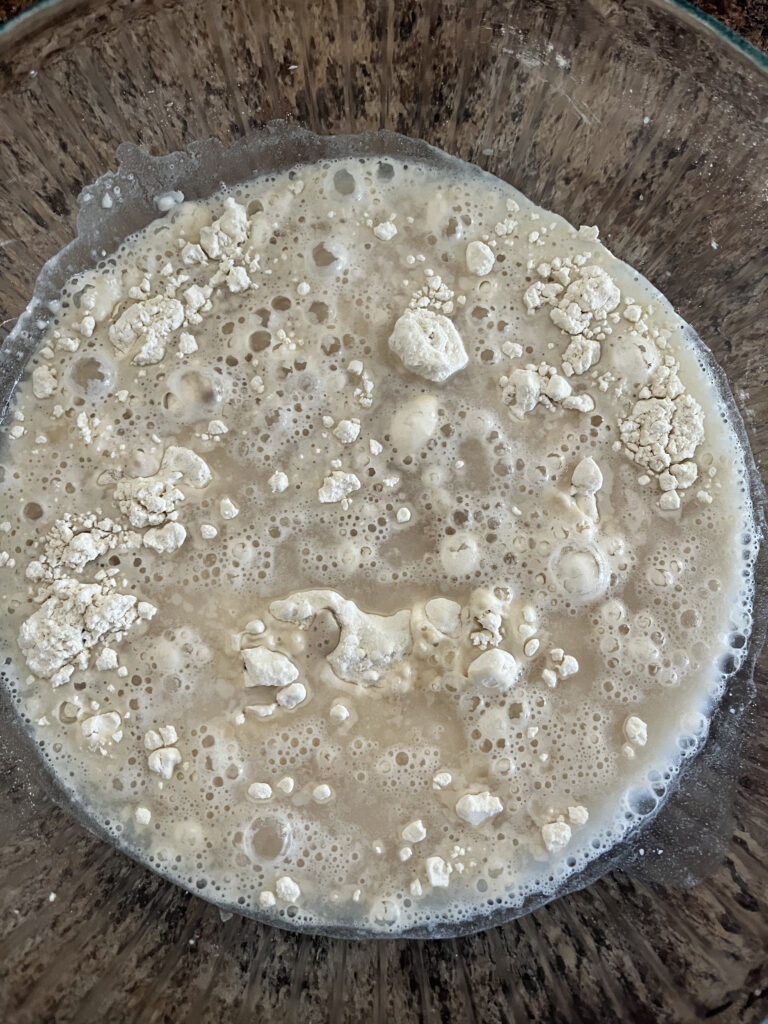
Step One: Bloom the Yeast
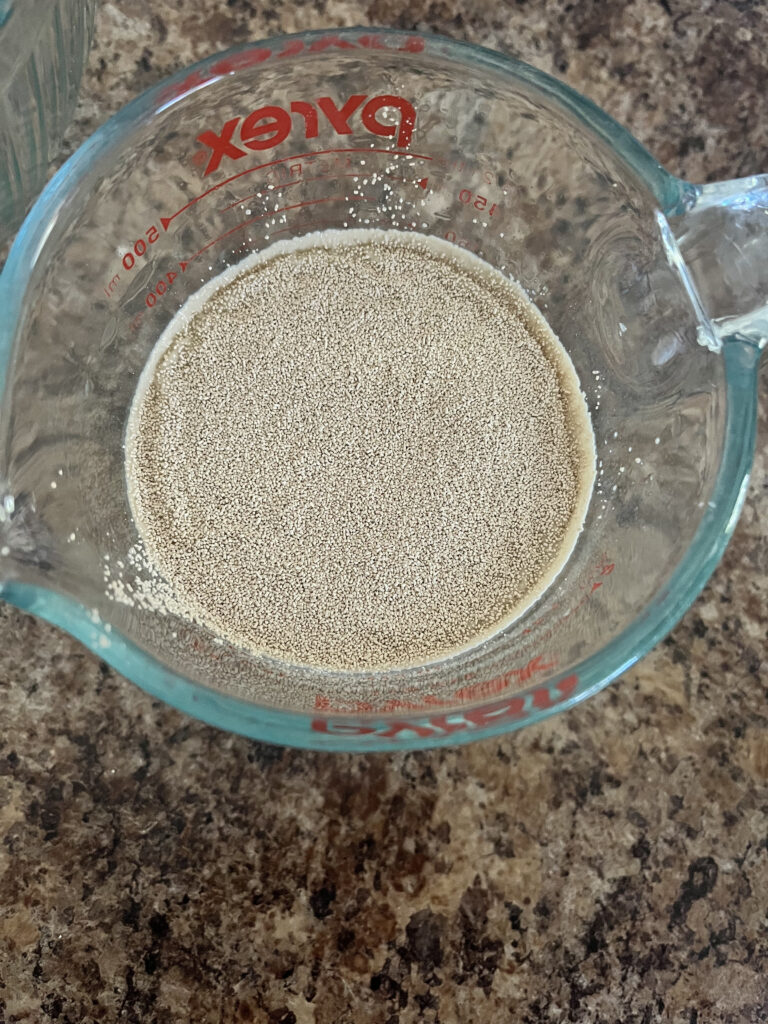
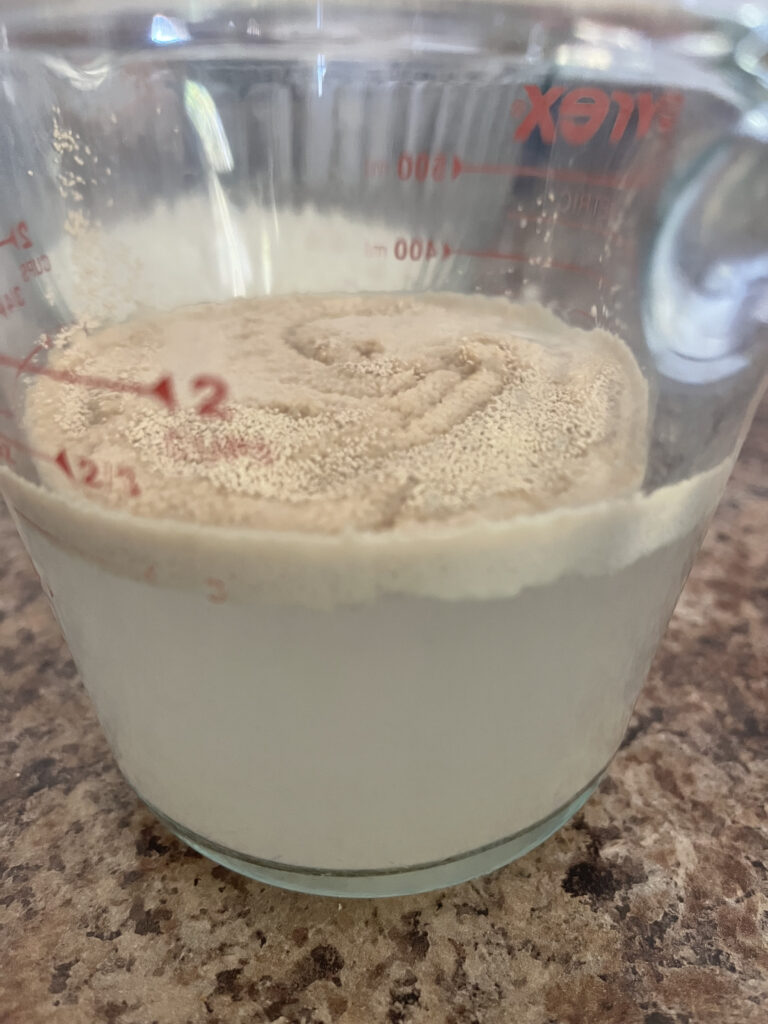
The very first thing you’ll want to do is bloom the yeast. Like I said before, yeast is a fungus, and it wants a warm, moist environment to reproduce in. To create the right environment, we are using warm water. Fill a liquid measuring cup with 1.5 cups of warm water. The ideal temperature is 110 degrees F. Comfortably warm will be fine if you don’t have a way to measure the temperature. Pour 2 tsp of active dry yeast on the warm water and let it sit. After 5 to 10 minutes, the yeast will start to bloom as pictured below.
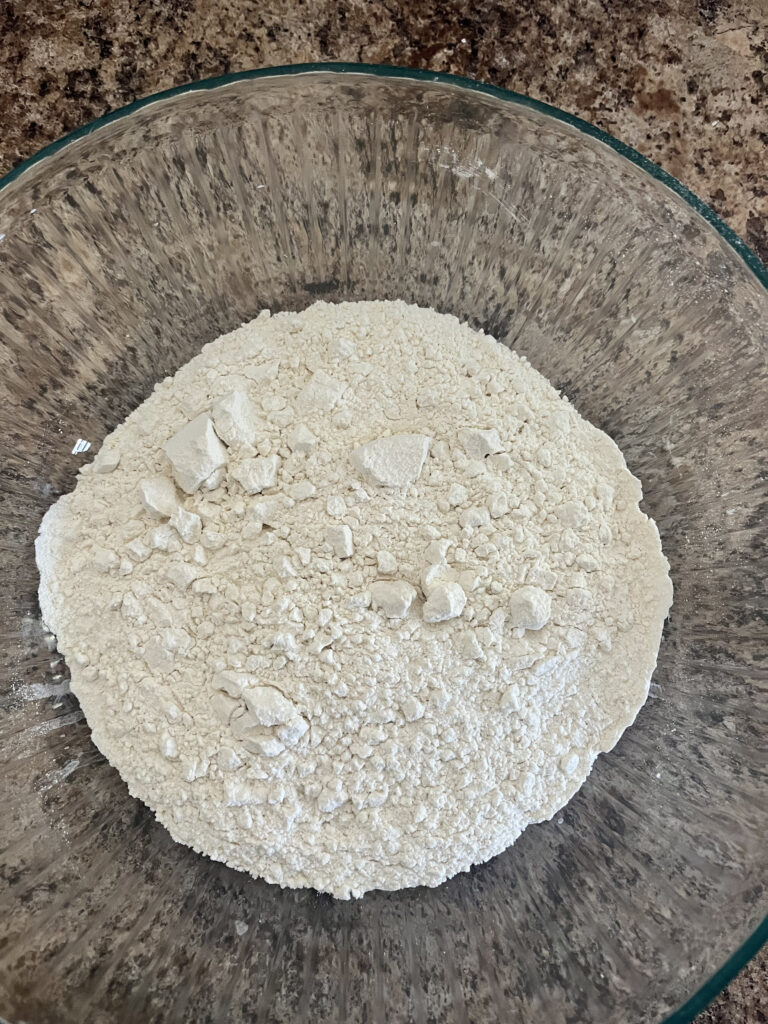
Step Two: Prepare the Flour
While you’re waiting for the yeast to bloom, go ahead and put 3 cups of flour and 1 tsp of salt in a large mixing bowl. Once the yeast has bloomed (as pictured above), pour it into your flour.
Step Three: Mix
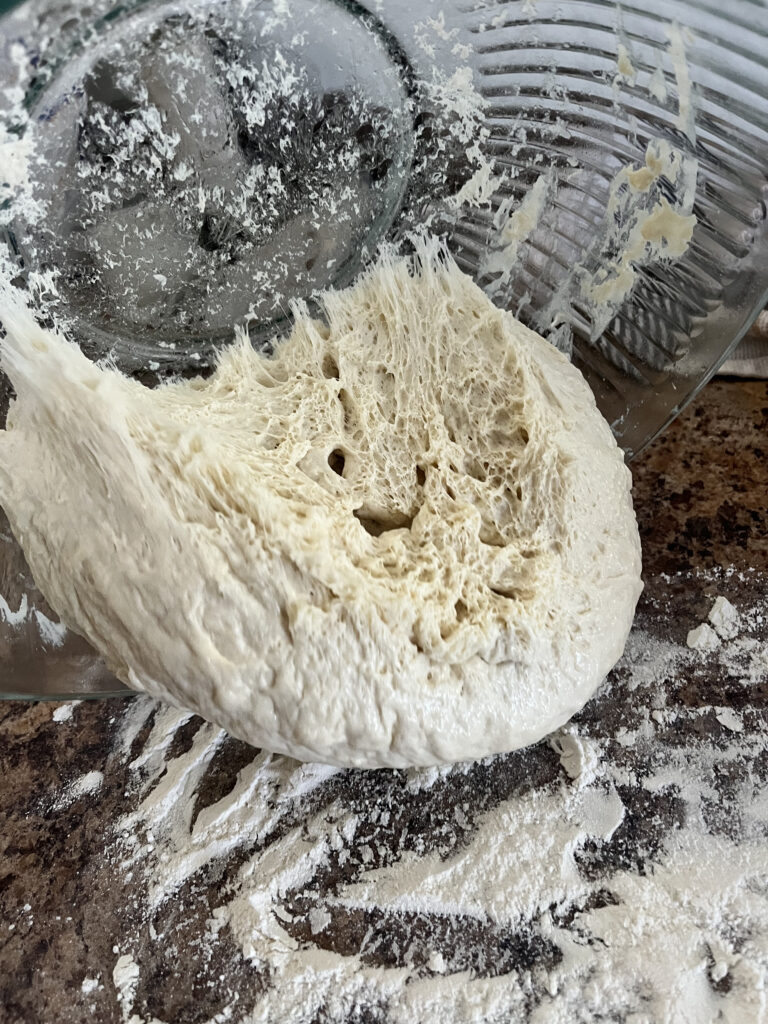
I don’t have a lot of extra kitchen appliances. If you have a standing mixer, this is the part where you put the bread attachments on that thing and let it mix and knead the dough until it’s ready. I don’t have one. I just use my hands. Use your hands to start working the flour, salt, and yeast water together so that the flour is completely saturated. It helps a little bit if your hands are wet, but the dough is going to be sticky no matter what at this point.
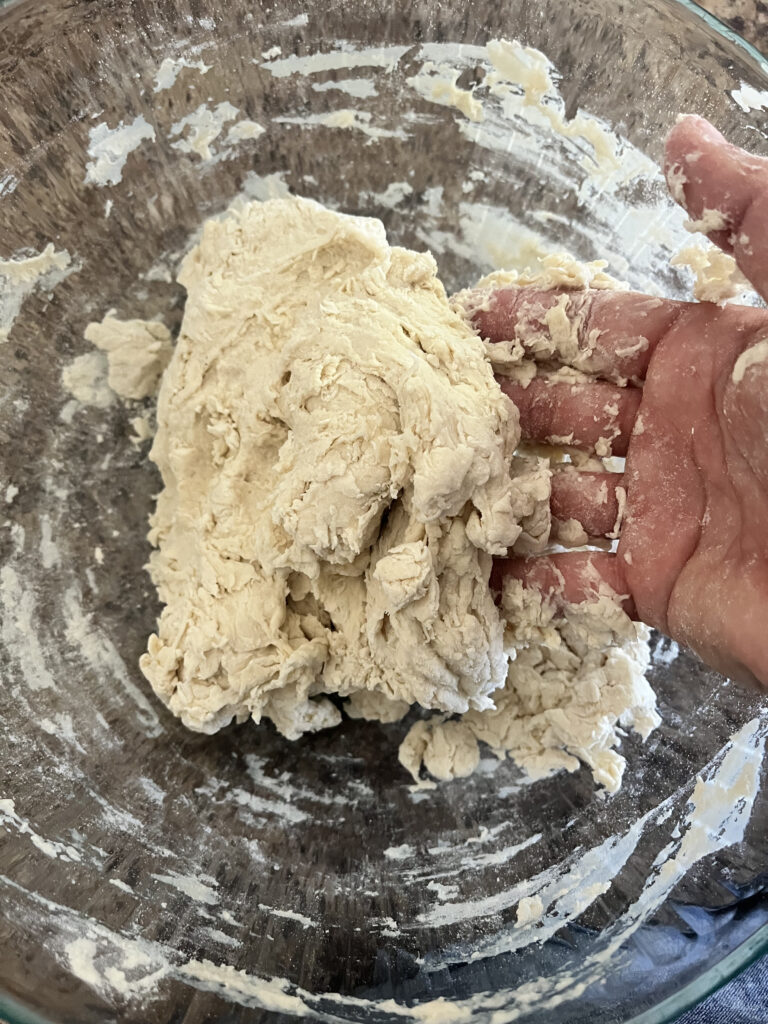
Step Four: Kneading the Dough
If the dough seems really wet, go ahead, and sprinkle a little more flour over the dough and working it by pulling the edges to the center and pushing them in. Sometimes I add a little bit of olive oil to my hands to help it not stick so much. Keep doing this until a nice ball has been formed, and it no longer sticks to your hands. It takes approximately 3 to 5 minutes so get comfortable.
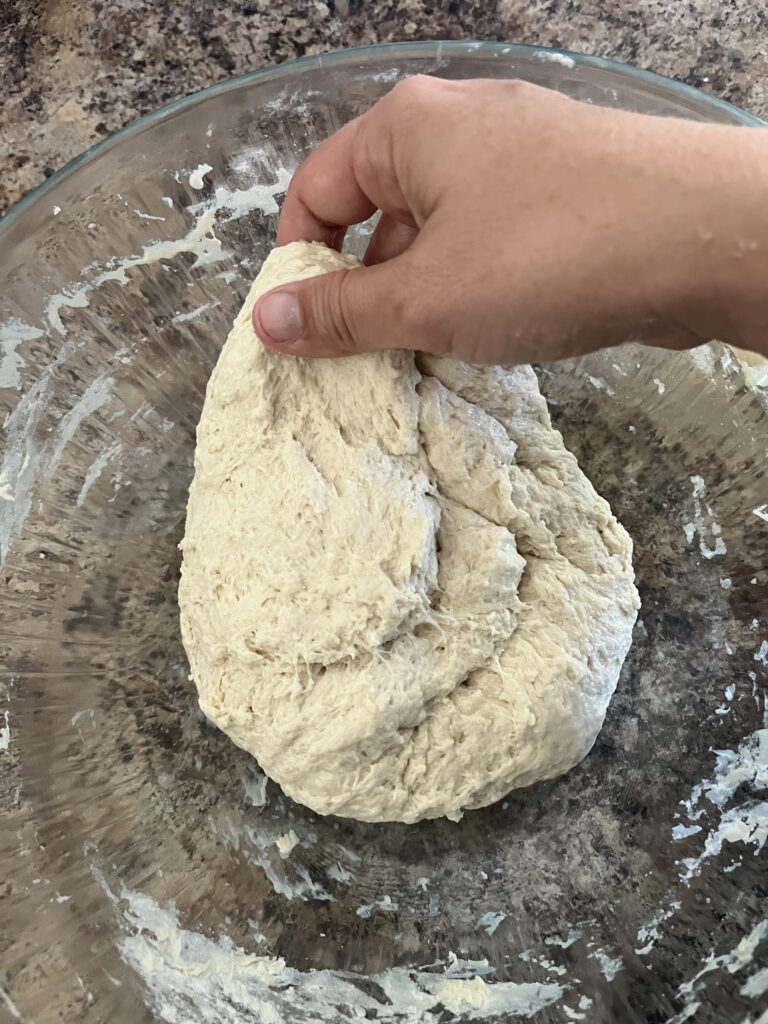
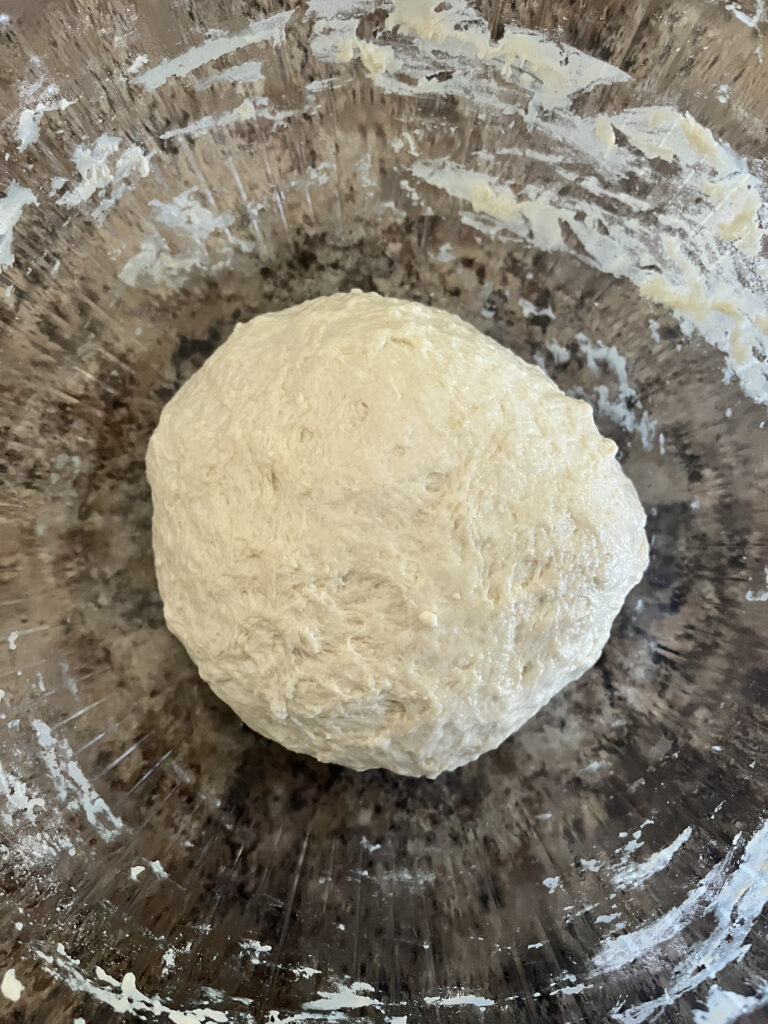
Step Five: Rise
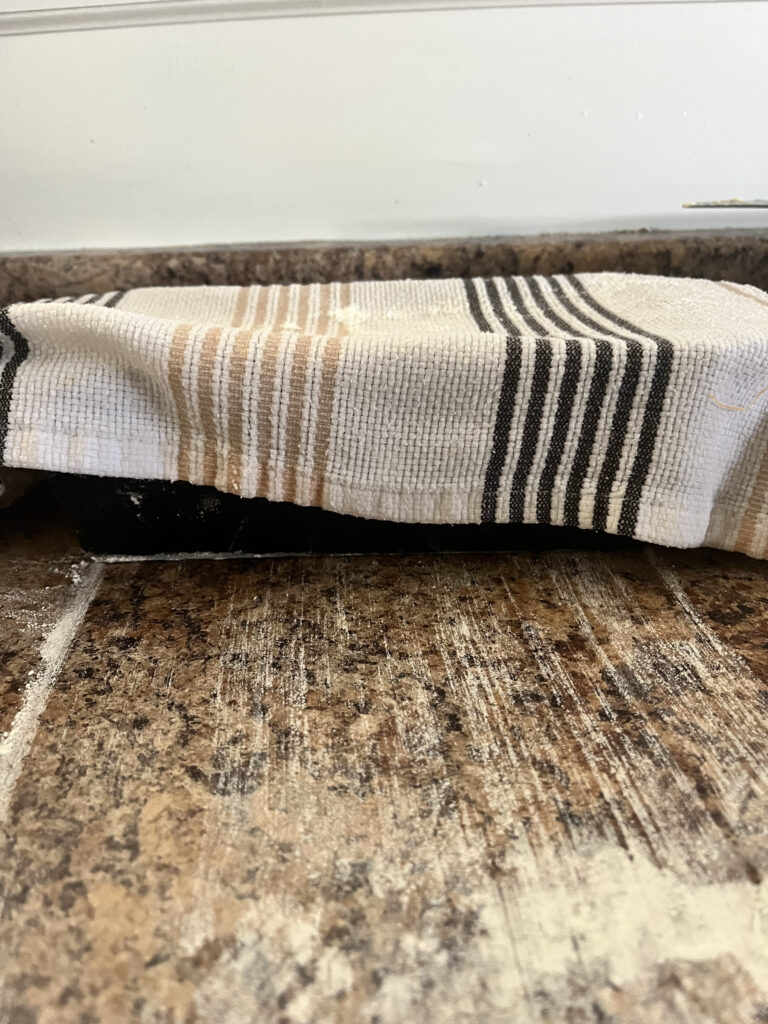
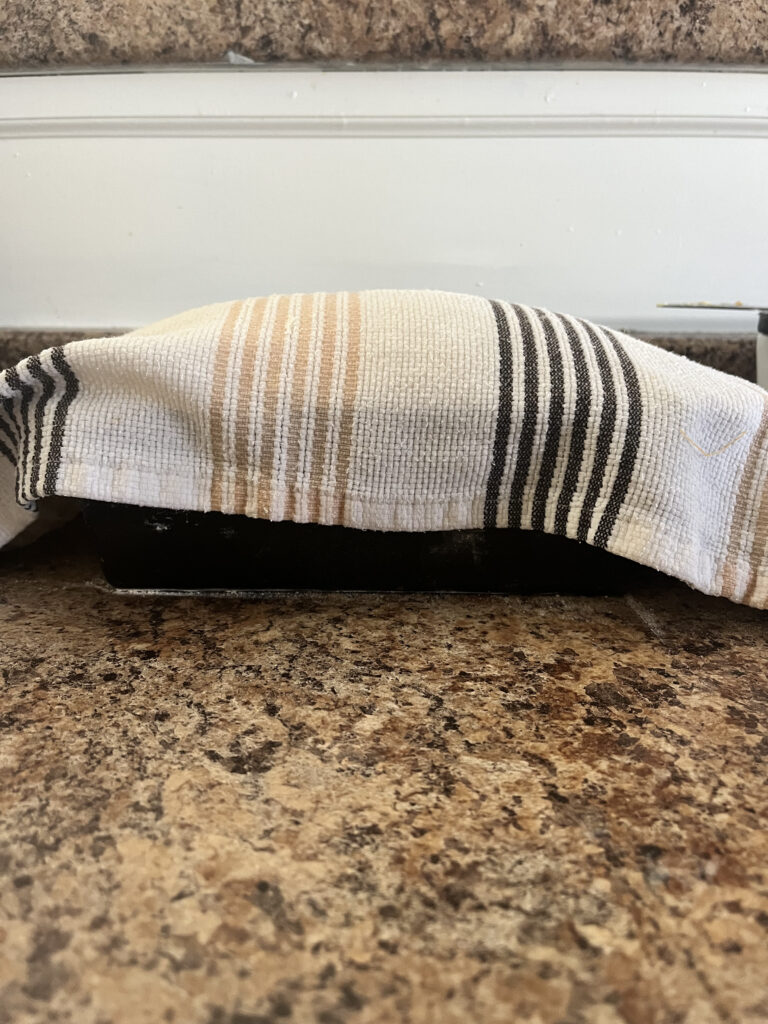
Once a smooth ball of dough has formed, cover the bowl with a warm, wet tea towel and let it sit for an hour or so. You want the dough ball to double in size. The amount of time this will take is going to depend on the temperature and moisture in the air. Your yeast is reproducing which is creating the rise in the bread. The more conducive the environment is for that, that faster your bread will rise. The less conducive, the longer it will take.


Step Six: Second Rise
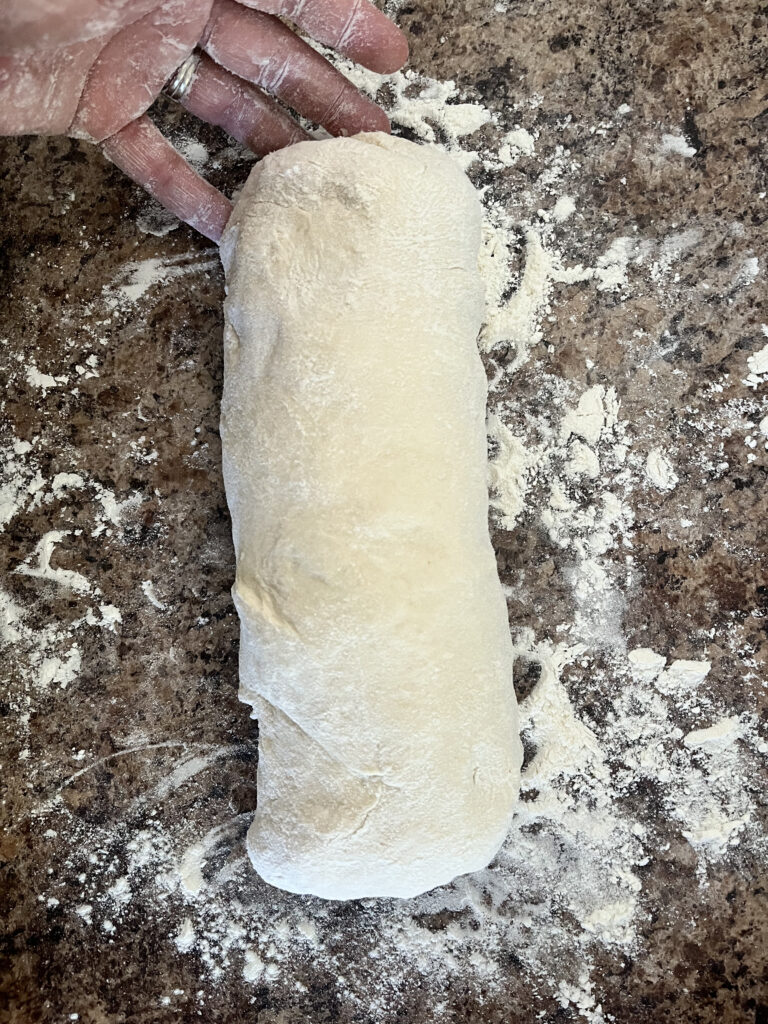
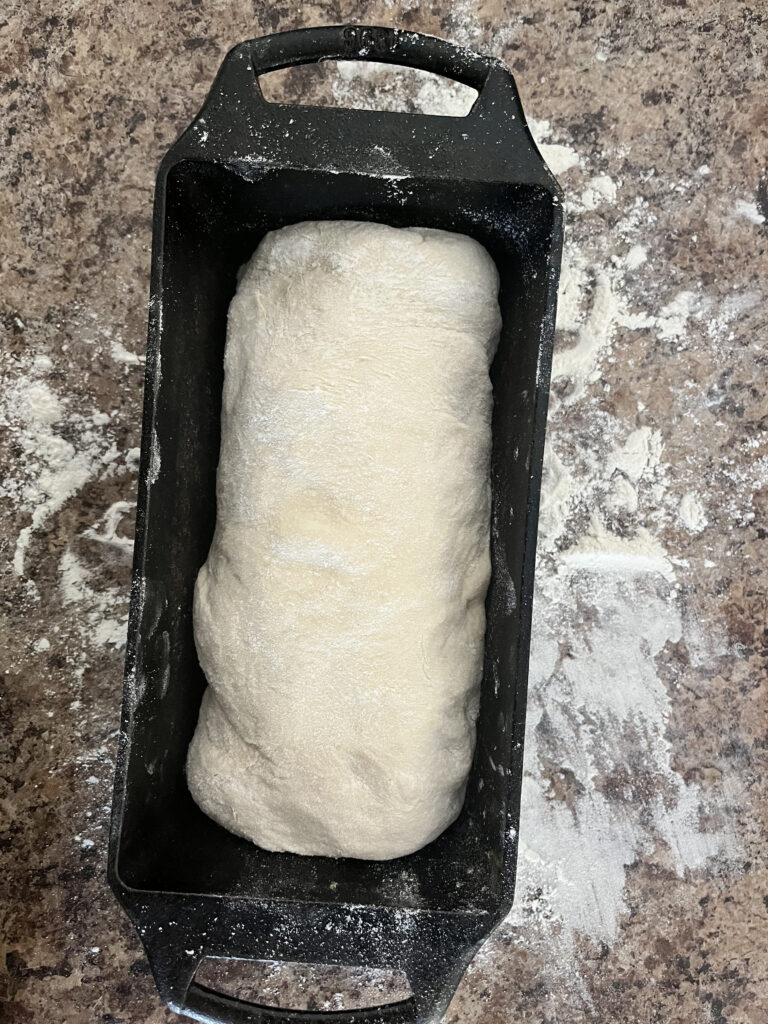
Once your dough has doubled in size, pour it out of the bowl on a floured surface. Form it again into a loaf shape and place it into your loaf pan. Cover it with a warm, wet tea towel and let it sit for a second rise. This rise should not take as long.
Step Seven: Let’s Make the House Smell Amazing!
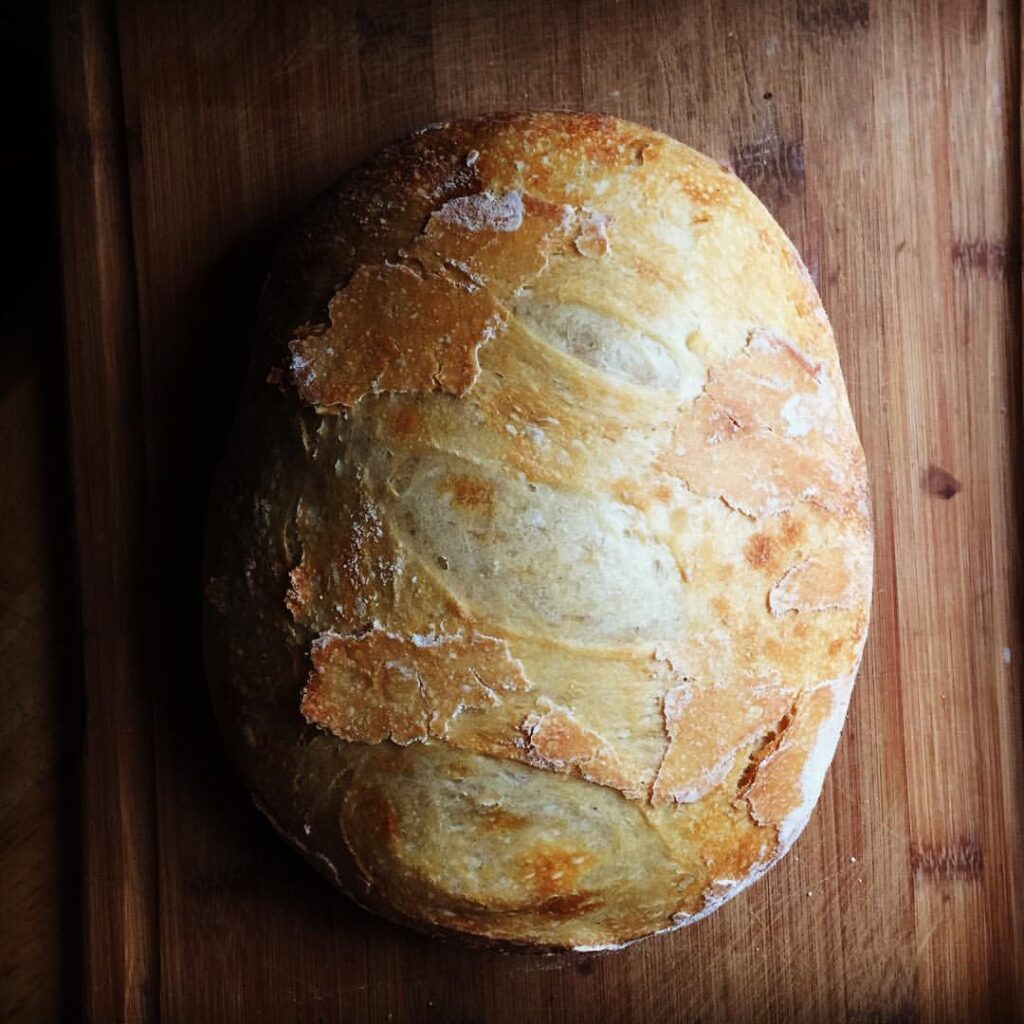
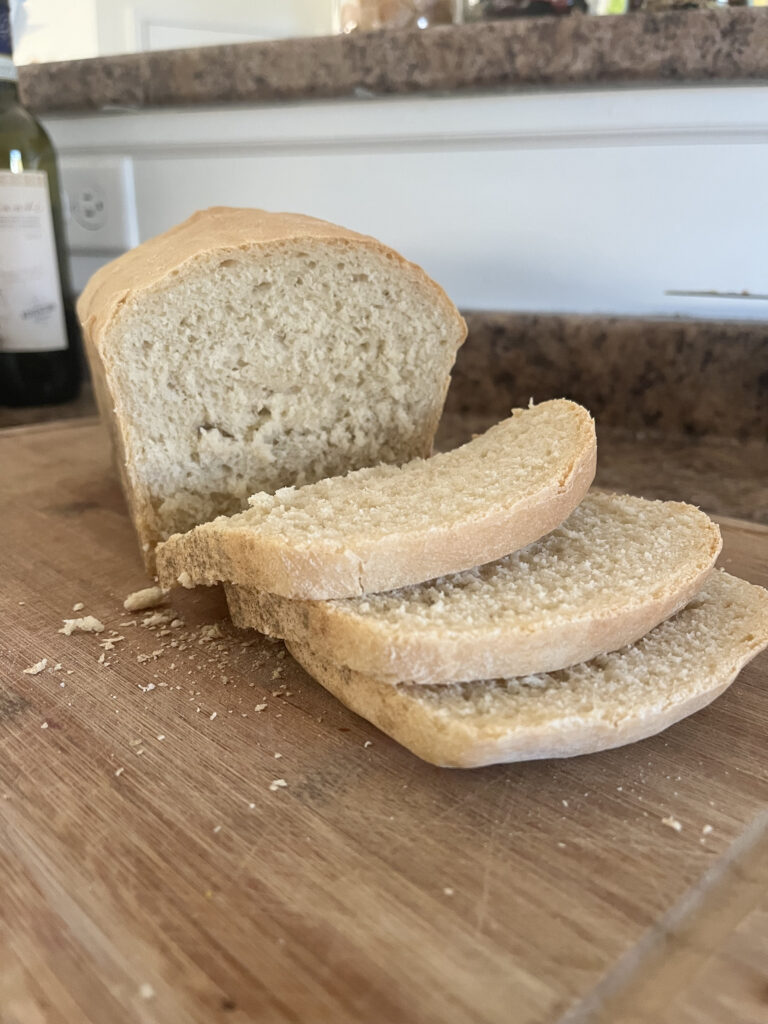
Once the loaf is well into its second rise, preheat your oven to 450F. Place your second bread pan upside down on top of the one holding the dough. Bake covered for 27 minutes. Remove bread pan cover and bake an additional 7 minutes or until the top of the loaf is a nice golden color. When you remove the bread from the oven, DO NOT SLICE IT! It is tempting. I know. Dump it out of the bread pan and onto a cutting board. Let it rest for 30 minutes. It is still baking inside the crust. Sometimes you can hear it popping and cracking while it does this.
Step Eight: Enjoy!
This is a simple, honest bread recipe. It’s probably the one I use the most often due to its simplicity and versatility. We use it for toast with dippy eggs, butter bread with soups, open faced sandwiches, even regular sandwiches (although there are better sandwich bread recipes out there). Knowing how to make a simple loaf of bread can take you a long way in saving money at the grocery store and creating simple from scratch meals at home. It’s also a hit at any potluck. The best part is that it is shockingly simple to do. Furthermore, once you are confident in this, you can take on any bread recipe that interests you! Now get your hands in some dough!
One response to “The Beginner’s Loaf of Bread”
SO excited to test out this recipe!