(for cheap)
As the summer garden season is wrapping up, it’s time to start thinking about next year! Maybe you’ve been wanting to start a small garden but didn’t know where to start. Just because this season is over does not mean you are too late, my friend. In fact, I would argue this is the best time to get started.
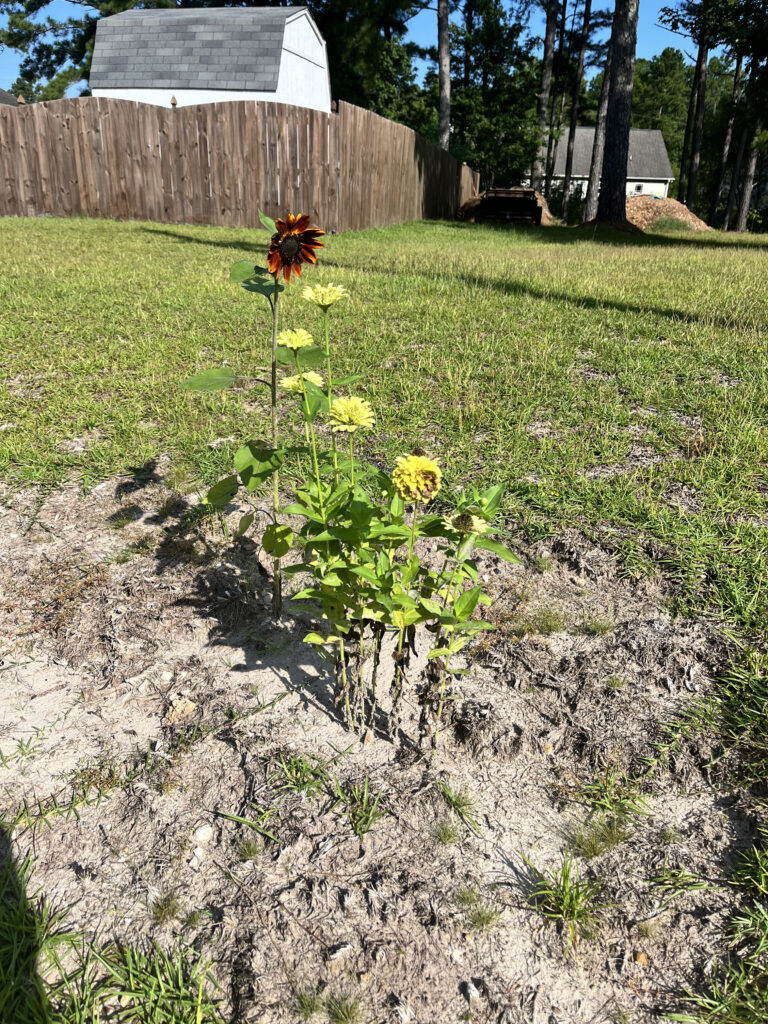
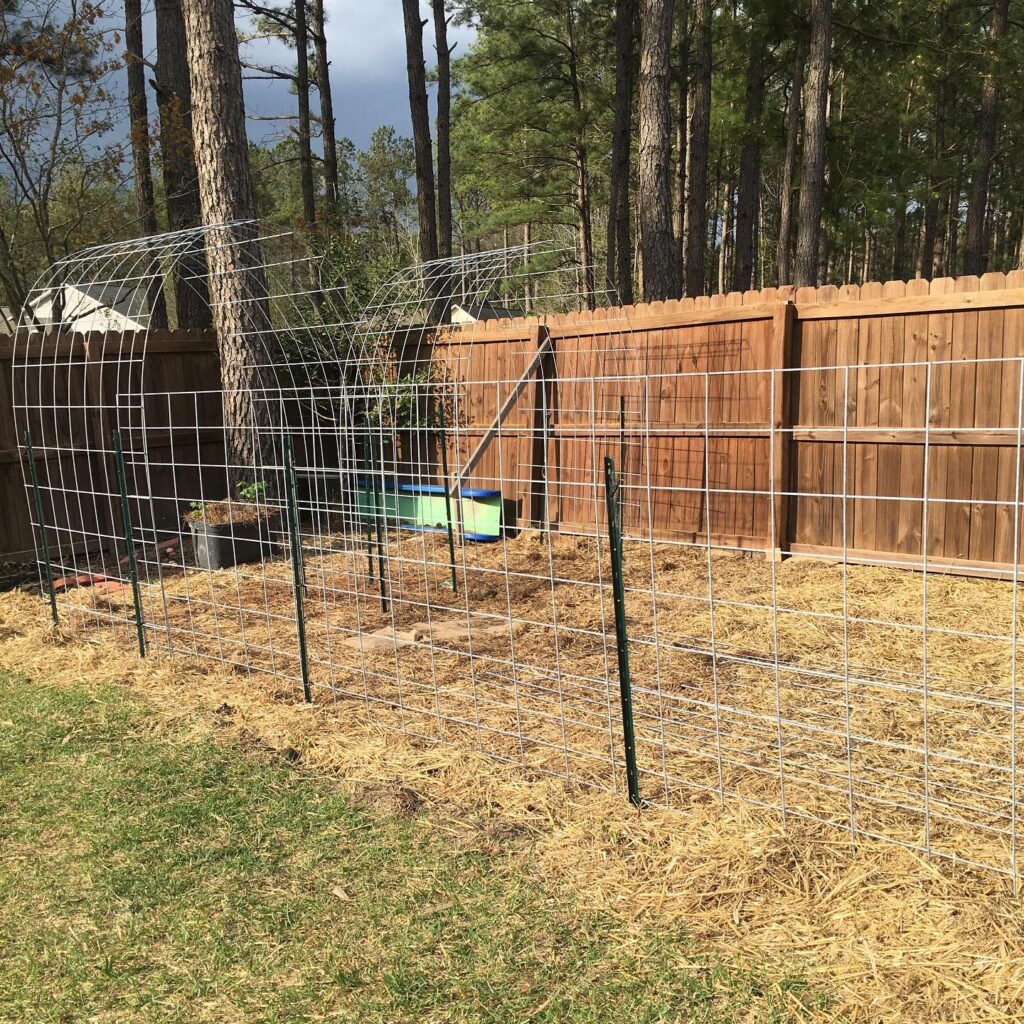
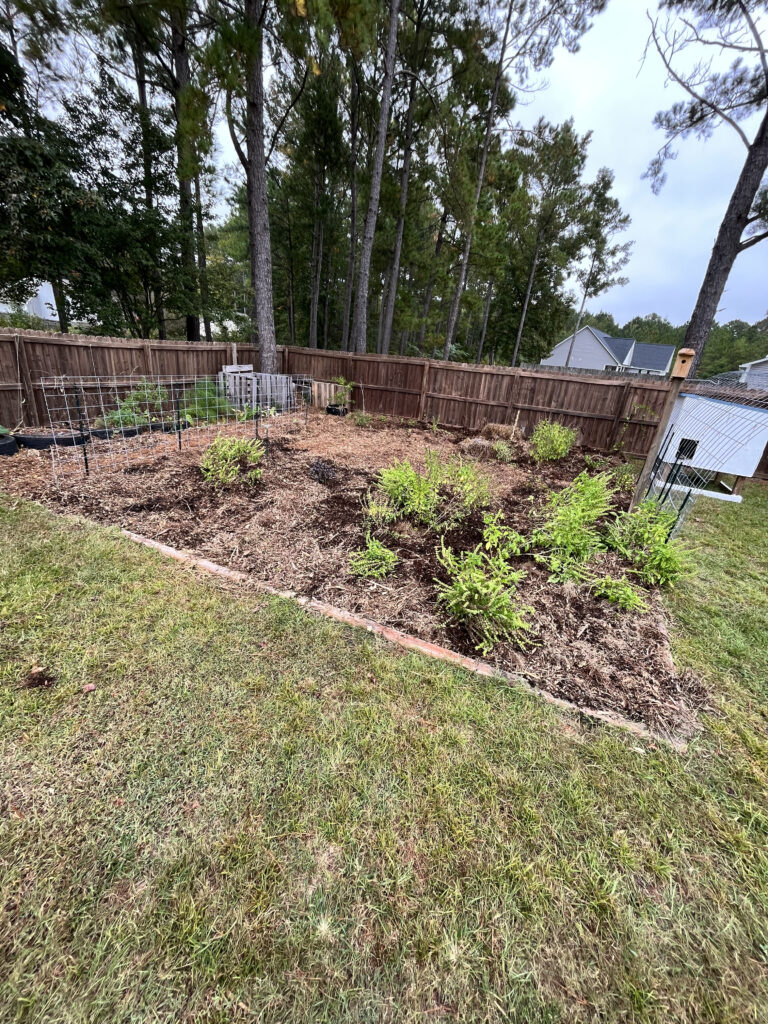
In this post I’m going to walk you through the steps of building a kind of no till garden. It is affordable (possibly free), cuts down on weeding and watering during the actual garden season, and doesn’t require a tiller. It is simple and can be done at any scale.
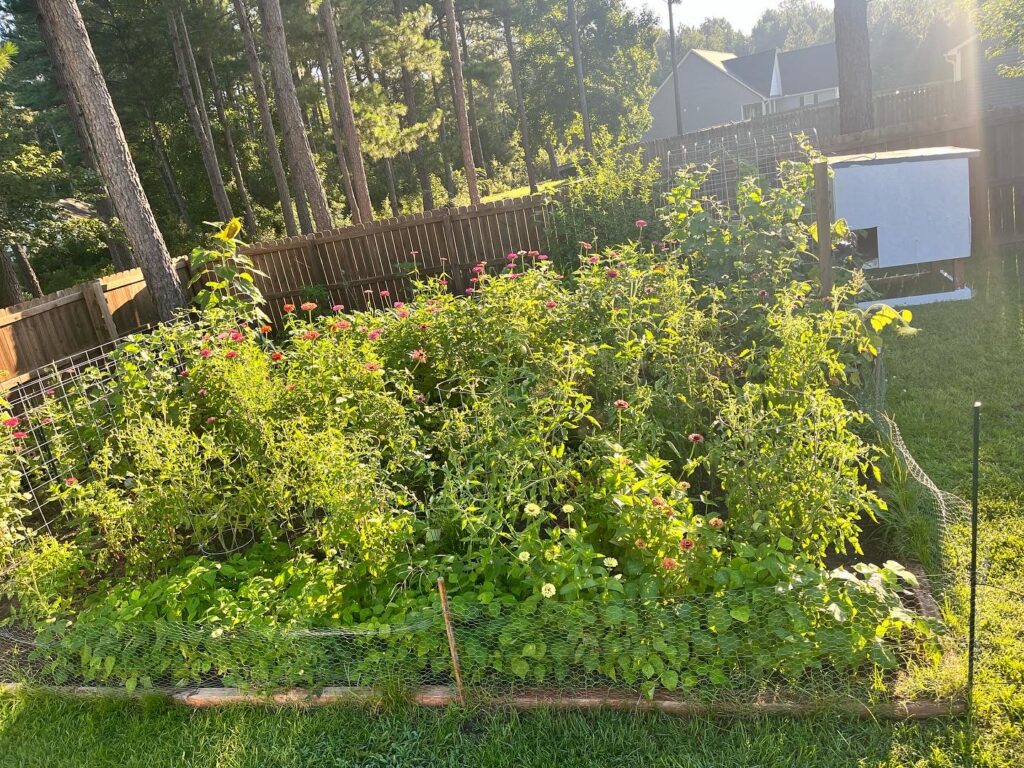
I could make a whole blog post about the benefits of a no till garden, and why my family has been doing this for several years now. For the sake of this post, however, I will keep it brief. No till gardening is a method that protects and feeds the topsoil in your garden instead of tilling it up every year. You keep your topsoil covered with a layer of organic matter (woodchips, straw, leaves, grass clippings, cover crops, etc.), and plant your seeds and starts underneath the covering into the soil. That covering will protect the microorganisms living in your soil that are vital to the health of your plants. It will keep moisture in, help to regulate soil temperature, and cut down on the amount of weeding you will need to do. Best of all, your soil health will improve every year because this method is constantly feeding nutrients back into your topsoil.
Step One
Why are we talking about building a garden right now? Don’t people prepare their gardens at the beginning of spring? This is true. However, you must remember that we are not tilling up the soil. You are going to need time for a section of your yard to be turned into a garden space. Once you have decided where that space is going to be you’ll want to cover that space in a layer of cardboard. Do not use glossy cardboard. Those Amazon boxes will be perfect for this. You can also source free boxes from grocery stores, liquor stores, and big box stores. As you lay the cardboard, be sure that you water it well.
Step Two
Decide on an organic covering for your space. It’s October as I write this so maybe you have an abundance of leaves in your yard. Another option is checking out your local buy sell pages to see if any farmers have damaged hay bales that they cannot use. If you see the electric companies out with the woodchipper trucks, you can call them and find out who they are contracting with to cut the trees and reach out to those companies to see if they will drop a load of woodchips in your yard. There is also a site called Chip Drop where you can sign up to have woodchips dropped in your yard whenever one of those companies are in your area. Full disclosure, I’ve never had luck with this. For people living in town, find out if your town has a local cooperative extension. Sometimes they have free woodchips and compost available from the city’s yard waste that you have access to! You can also purchase straw from your local hardware store. Grass clippings are also a good option.
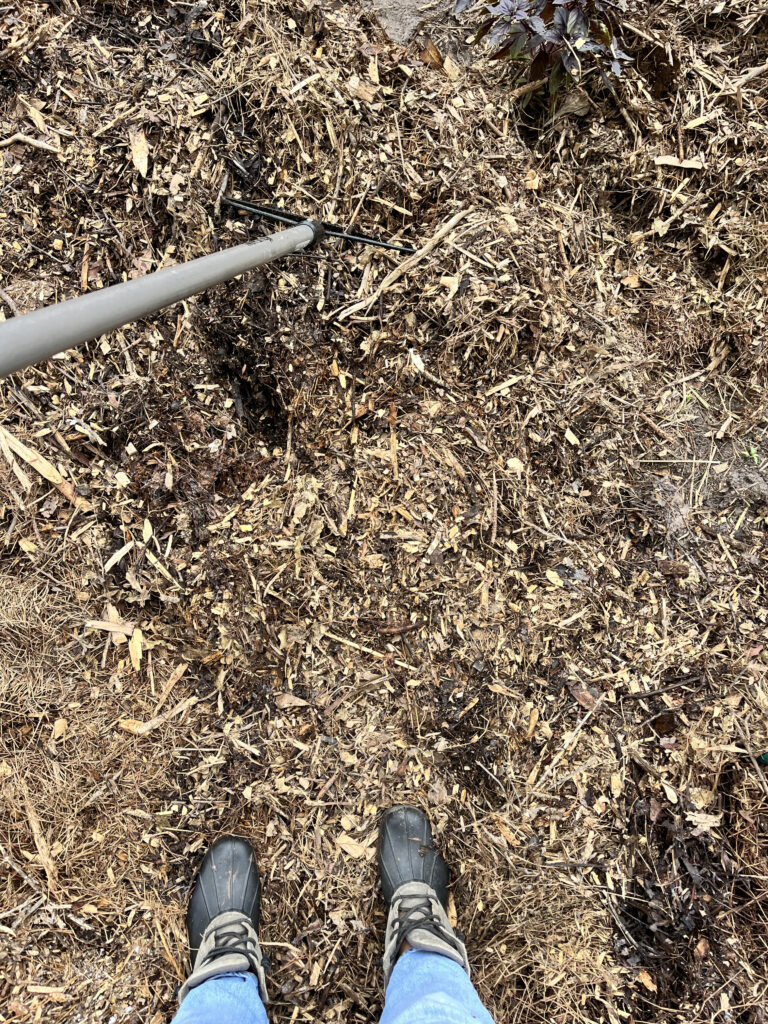
These are all coverings that we’ve used in our gardens over the years. Our personal favorite option is the woodchips but any of these will work just fine! Source your covering and place a thick layer over the cardboard. You are trying to layer this to be 5 to 6 inches thick. Be sure to thoroughly water this as well.
Step Three
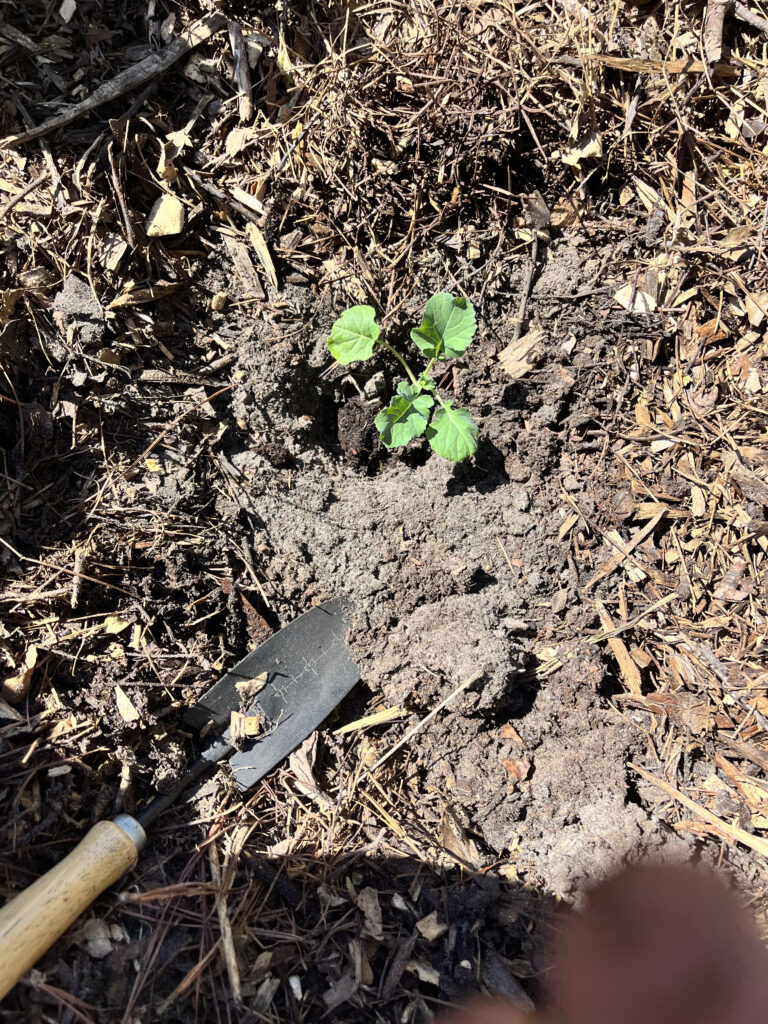
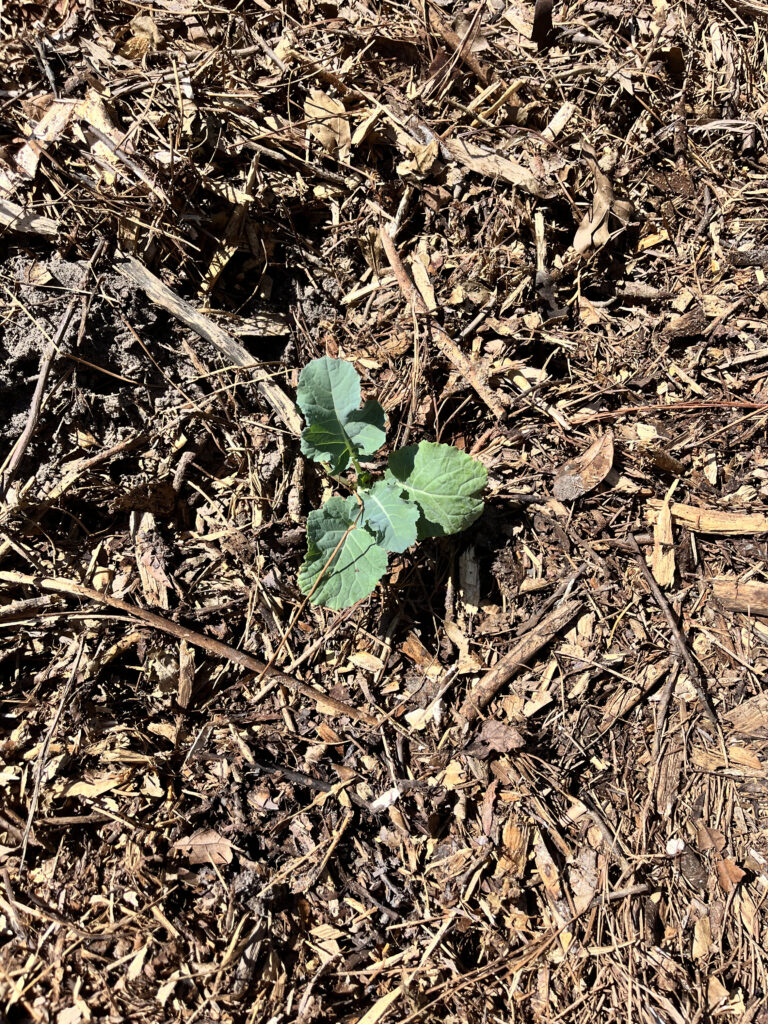
Wait until spring. There are no more steps. Over the winter, the cardboard will break down and the grass underneath will die. The cardboard, organic covering, and the dead grass underneath will provide food for the microorganisms living in your soil thus creating healthy soil that is ready for planting in the spring. You will want to maintain a nice, thick layer of covering so always be looking for ways you can throw some more organic matter onto the space.
One last thing…
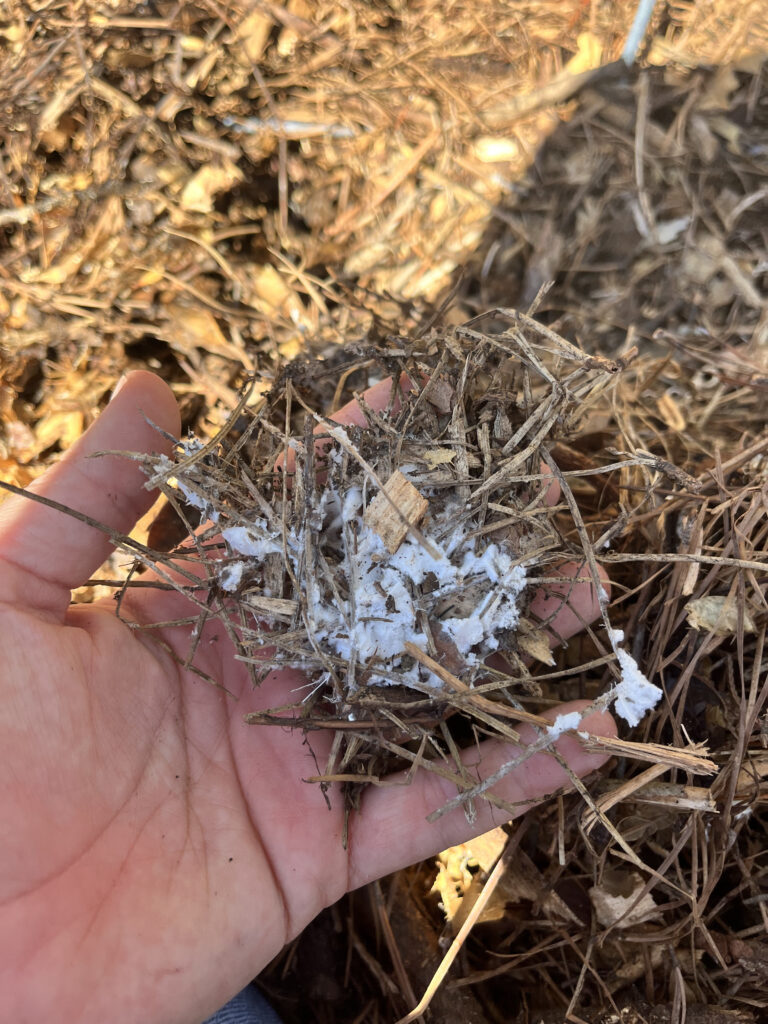
A few quick things to note about this method of gardening. Probably the most important thing to remember is to never mix the covering with the topsoil. The covering is just as it’s labeled. It goes on top of the soil. When it comes time to plant, you will move the covering aside, place the seed or start in the ground and move the covering back over or around. Next, dyed mulch is not the kind of covering you are looking for. It doesn’t break down like you need it to for optimal soil nutrients. Plus, do you really want weird dye where your food is growing? Furthermore, that would get quite expensive. Last, there is no guarantee that the places where you source your garden materials are untouched by pesticides and other sprays. Unfortunately, there is always a risk. I personally have never had it happen to me; however, I know of many gardeners that dealt with contaminated organic potting soil this past year. You cannot control everything, but you also cannot let that stop you from trying!
That’s it, my friends. Now you have a garden. No special equipment necessary. Very little to no money has been spent. You just need to get a little creative in sourcing the materials. Now go grow some food!
11 responses to “Time to Build a Garden”
This looks like a fun and relatively simple way to garden! Would this work in an apartment style?
Hey! Unless you had some ground to work with, this probably isn’t going to be your best option. However, there are ways to container garden without breaking the bank. I will try to dive more into those in the future!
Great list. I’ve never built a garden before, but would really like to. This is super helpful! Thanks for sharing.
This is good stuff! Love gardening
Great post!
This was really informative and helpful, I didn’t even realize that they was an option. . .or I should say that I didn’t know that this was the process for this type of garden.
I have not yet been successful at gardening. This looks doable. Great post!
Always wanted to try gardening, never knew how to start. Thanks for sharing! Will be looking back on this for my future garden!
I have yet to have a garden but this inspires me!
Very informative and well
Written!
Great pictures!